Upgrades to Carry Out On Your Front Door Before Winter
Upgrades to Carry Out On Your Front Door Before Winter
With winter quickly approaching, it's becoming more and more important to ensure your front door is prepared to tackle the harsh weather that comes with the colder months. You can avoid any unexpected costs or damage by ensuring your front door is prepared for winter. Plus, you can also ensure that your home can stay wonderfully warm, cosy, and dry this winter. If you want to do some upgrades on your front door ready for winter but are unsure where to start, don't worry – we've got you covered! Below, we will go over a range of tips on how best to upgrade your front door so that it's ready to battle any potentially severe winter weather. We hope that this Upgrades to Carry Out On Your Front Door Before Winter post inspires you.

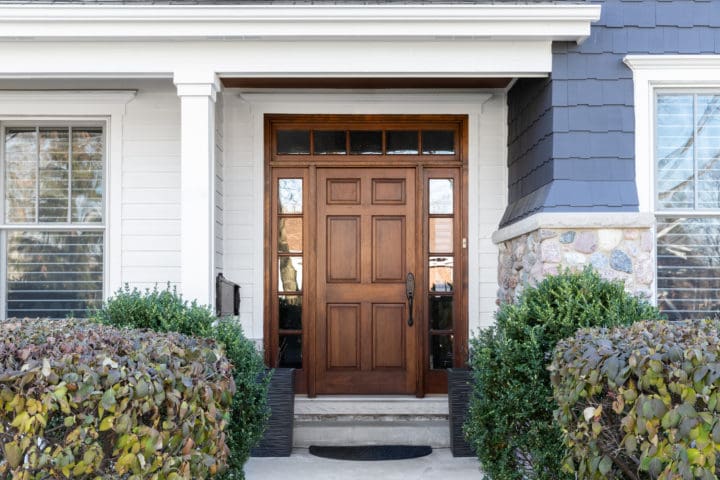
Image from Depositphotos
Front Door Winter Upgrades
Add Weatherstrips
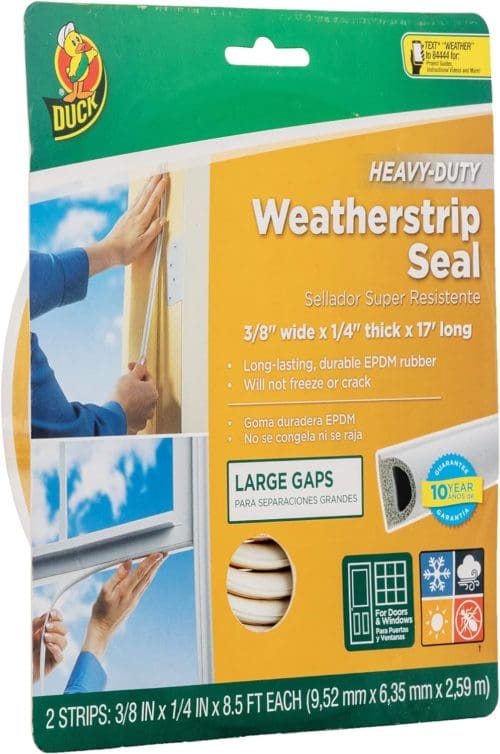
One of the simplest ways to weatherproof your front door is with the use of weatherstrips around the opening. This is a length of material that sits around the door to fill any gaps and prevent cold air from entering the property while still allowing the door to easily open and close. We prefer the Duck brand of weatherstripping.

Duck Brand Heavy Duty Self Adhesive Weatherstripping
Weatherstrips tend to be very easy to install and can be cut to size to fit every door. Most commonly, they are secured via a self-adhesive strip. Weatherstrips tend to be manufactured from rubber or foam but you can purchase them in some other less common materials. You can choose to install weatherstrips at the top or bottom of your door frame, or you may choose to install them around your entire door frame for optimal results. Weatherstrips are great for minimising heat loss, draughts, and water ingress.

Image from Depositphotos
Check The Hardware
Another way in which you can ensure your door is weatherproof is by checking the hardware. Ensure that the doorknobs, hinges, latches, and locks are all fitted correctly and in complete working order. If you have a lock system, this may be allowing quite a lot of draughts in. You may find that getting your locks changed could make a big difference. The price of getting your locks changed is not too steep, and it could result in your home being much warmer, helping you save money on your energy bills.

Under Door Draught Excluder
Install Under Door Draught Excluders
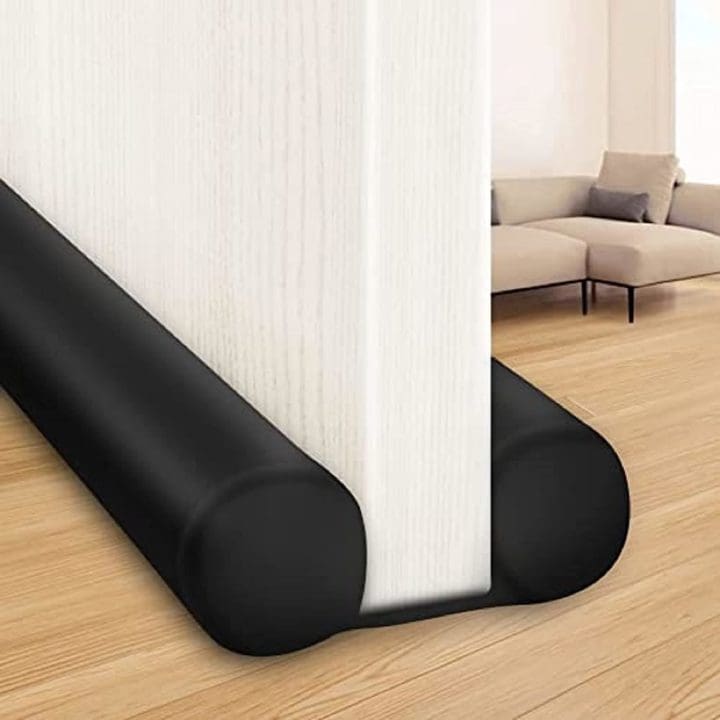
Draught excluders are great for helping to minimise the amount of heat that is lost and for preventing draughts from entering the home through any gaps that exist underneath your front door. The most common type of draught excluder is one that includes a plastic plate that is fixed to your door with bristles attached underneath (pictured below) These bristles allow your door to continue to open and close properly without allowing draughts to enter the home. These bristles can also be cut down to size if they are longer than the size of the gap between your door and the floor.

Under Door Draught Excluder
Install a Letterbox Draught Excluder
In addition to ensuring the gaps under the door are covered, it’s also important to remember that other parts of your door may be allowing draughts to enter your home. One of these areas is the letterbox. Consider installing a letterbox draught excluder to prevent heat from being lost and draughts from coming in through the letterbox. The most common type of draught excluder for the letterbox is a metal plate that sits on the inside of the letterbox with some bristles that sit at the top and bottom of the frame. This design blocks any draughts that may enter the home through the letterbox but also provides enough of an opening for your post to still pass through.
DIY Shutters for Your Home
Add a Door Threshold
One of the best ways to ensure your front door is weathertight is through the installation of a door threshold. Door thresholds can help to ensure no water enters your home from the outside of the property. A door threshold is a plate that sits at the bottom of the door. This plate helps to divert the rainwater that runs down your front door. It pushes the water away from the bottom of the door, keeping it away from the entry point.

Image from Depositphotos
Replacing Caulk
Caulk is commonly applied at the point of installation. However, the caulk can wear over time. Worn caulk can allow draughts to enter the home and can allow heat from your home to escape through gaps. You can easily remove worn or damaged caulk with a knife or screwdriver. Once you have removed the old caulk, you can then add a new layer. Caulk is most commonly supplied in a tube with a nozzle on the end for an easy and precise installation.
These are some quick and easy ways to begin the process of winterizing your home to keep things warm this season. We hope that this Upgrades to Carry Out On Your Front Door Before Winter post inspires you. Happy DIYing!
Clever Home Upgrades to Add This Spring
You May Also Like


Pingback: How To Style Your First Home Like Pro