Paper Quilling Flowers DIY Craft
Paper Quilling Flowers DIY Craft
Paper quilling flowers are a fun craft that we enjoy in this household. The results look so good and people love getting our handcrafted creations. You can customize this with your favorite colors, team colors, or anything in between. This is such a cute frame craft. We hope that this Quilling Flowers DIY Craft post inspires you.
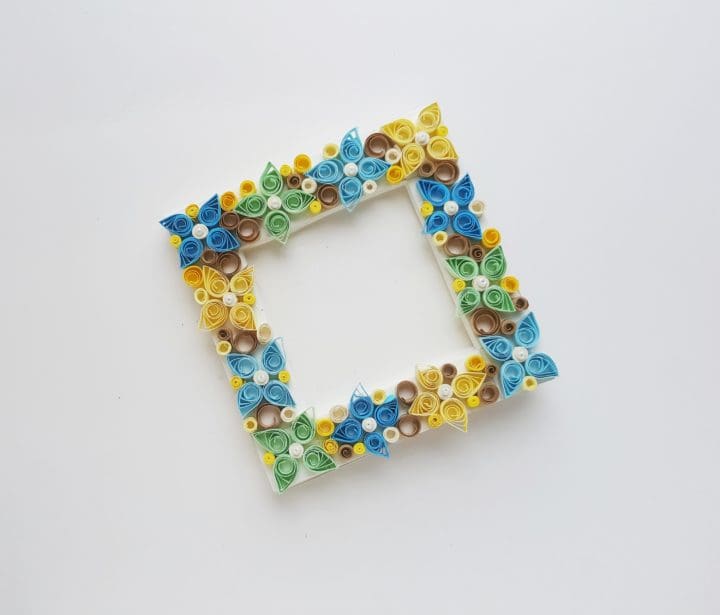
Paper Quilling Flowers DIY Craft
Supplies for frame
Crafts for Kids: Spring Flowers
Supplies for decorating frame
Paper Quilling Flowers DIY Craft
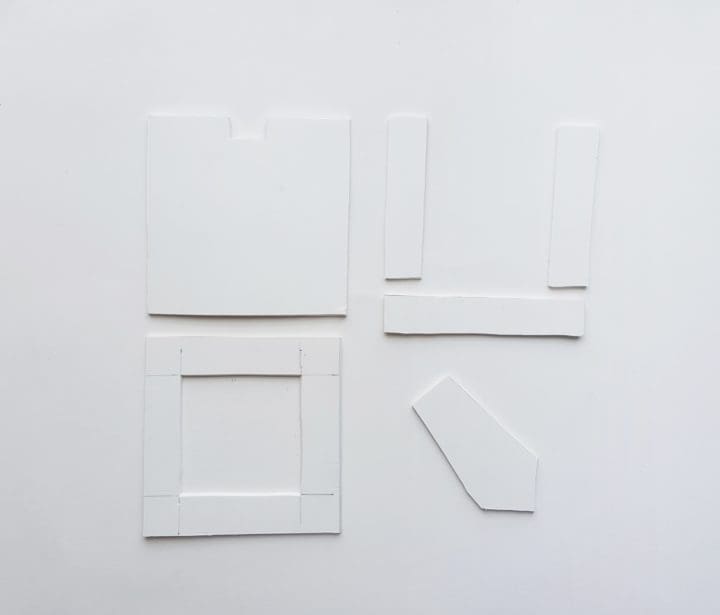
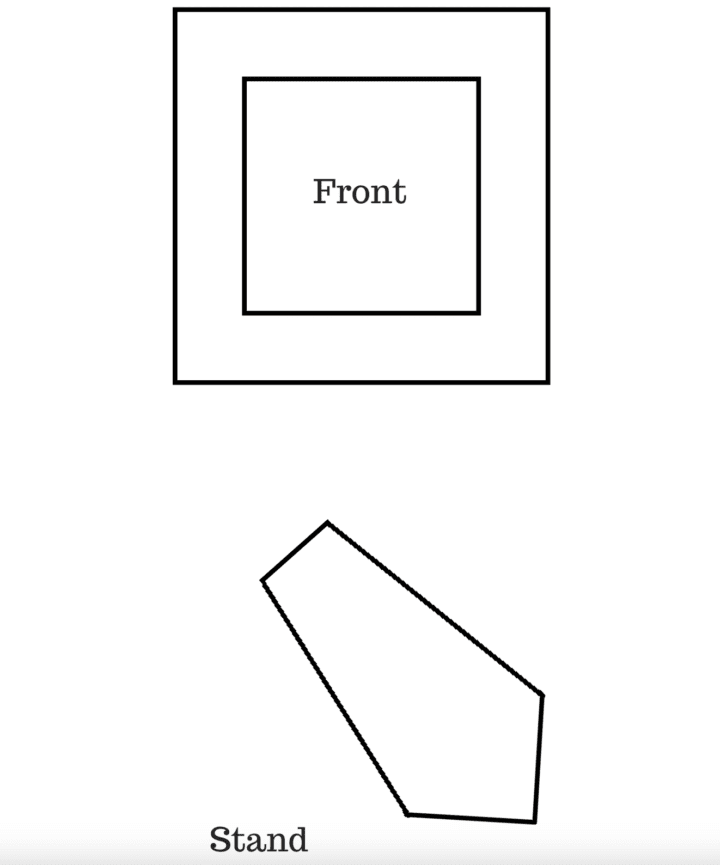
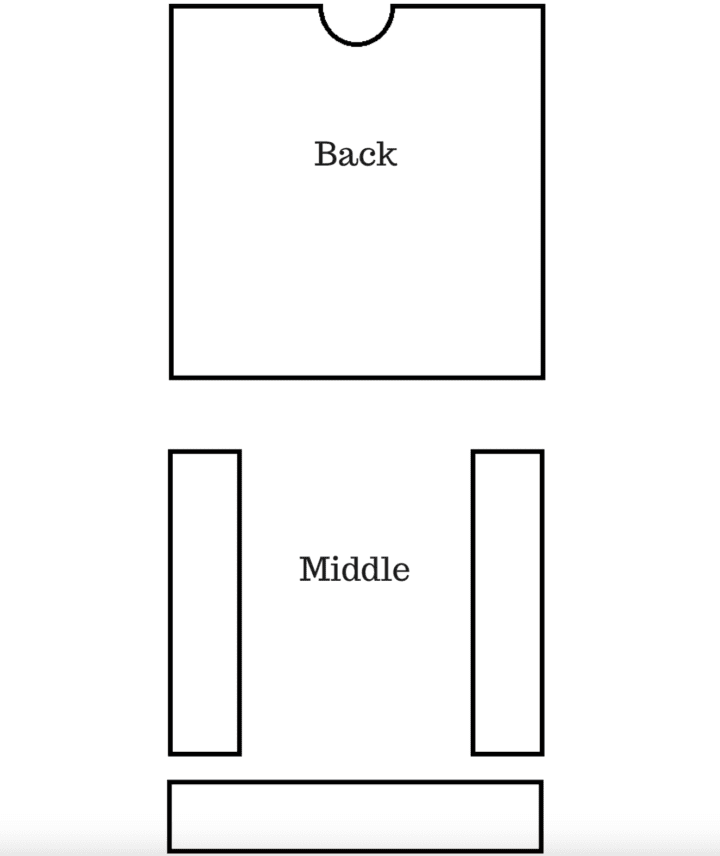
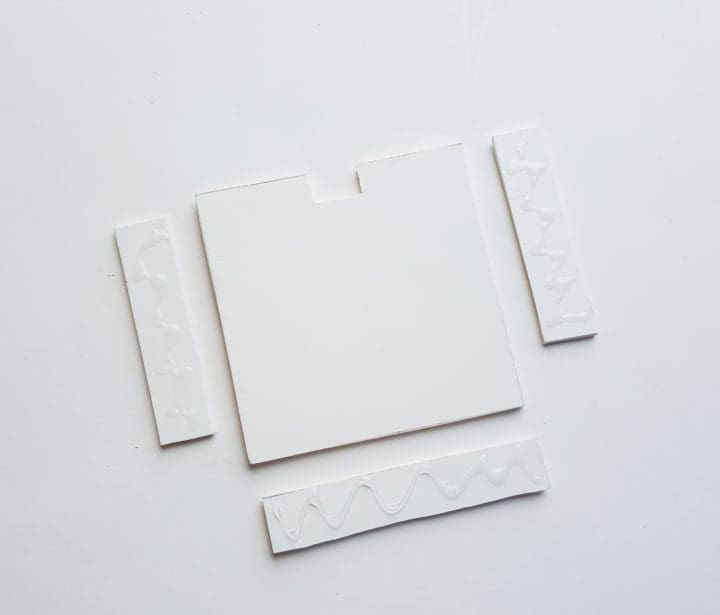
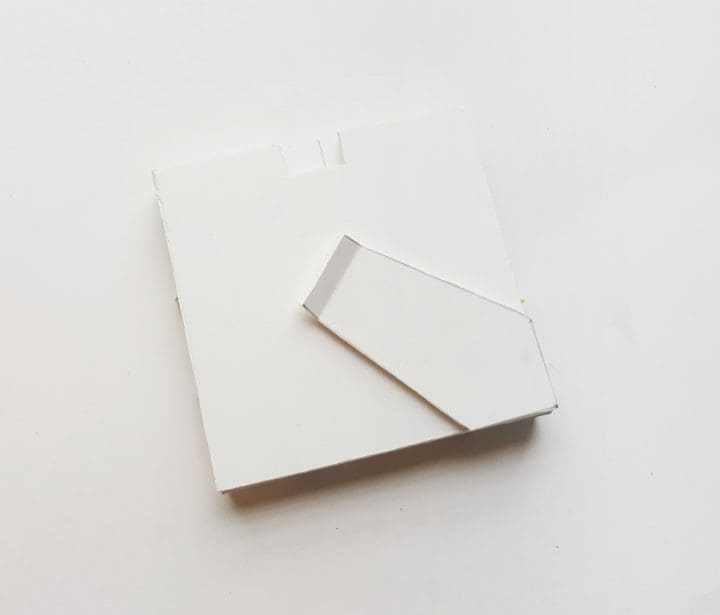
- Decide the size for the frame and customize the template size accordingly. Trace the patterns from the template on the foam board and cut out the traced patterns with an X-acto knife.
- Take the back piece, the bottom piece, and the 2 side pieces. Apply glue on any one side of the 2 sides and the bottom pieces.
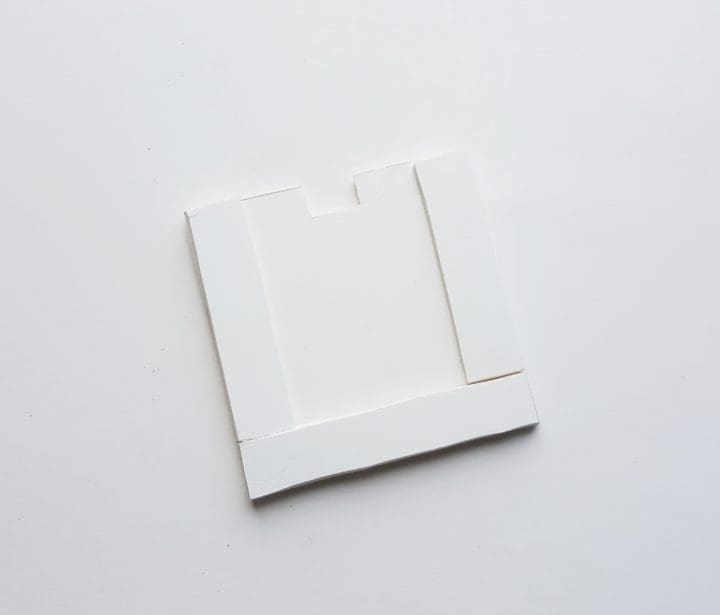
- Place the glued side of the pieces (sides and bottom) on the back piece, in their places. Make sure to place the side and bottom pieces nicely in their position.
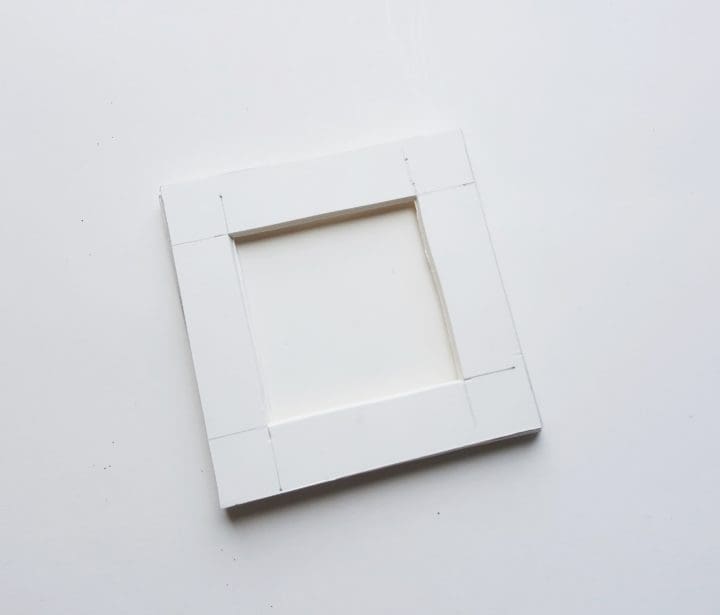
- Now apply glue on the 2 sides and the bottom part. Carefully place the front piece (the frame) on the glued area, making sure that all sides of the frame are matched with the back and middle parts of the frame.
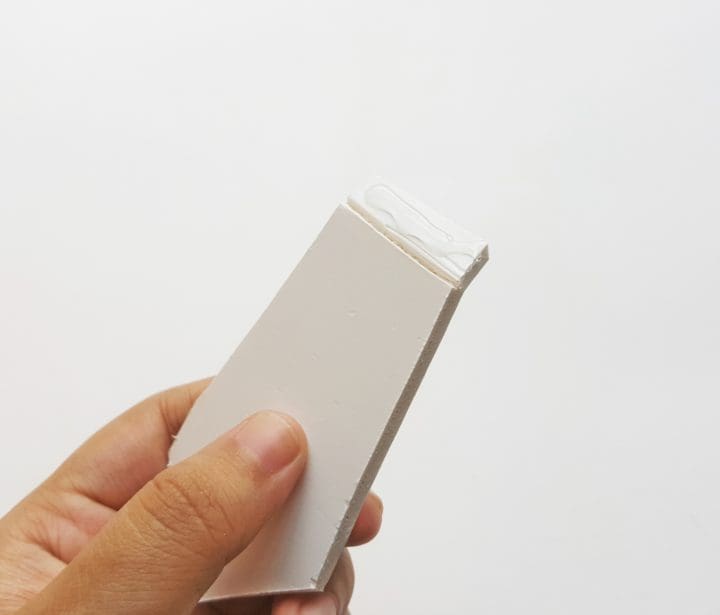
- Take the stand piece and make a small half-cut, 1cm below the straight part of the stand. Apply glue along the 1 cm part, right above the half-cut.
- Match the arrowhead bottom part of the stand with any one side of the frame’s bottom corners and attach the glued part with the frame. Allow the glue to dry.
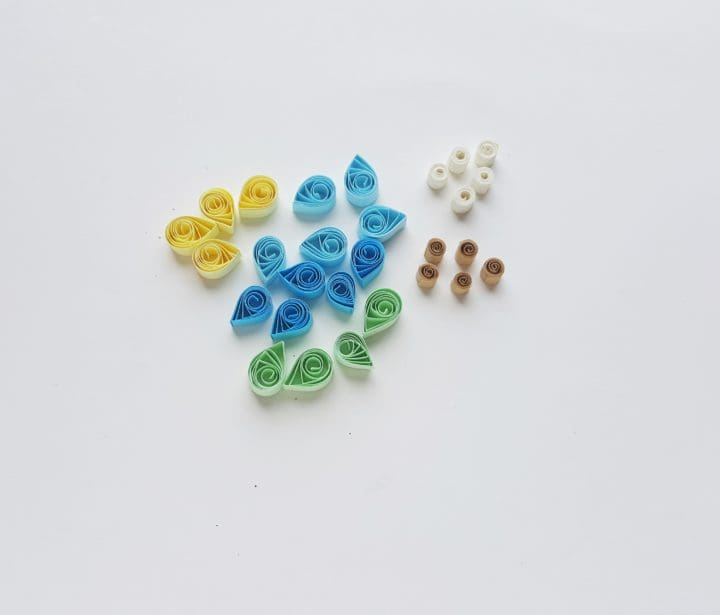
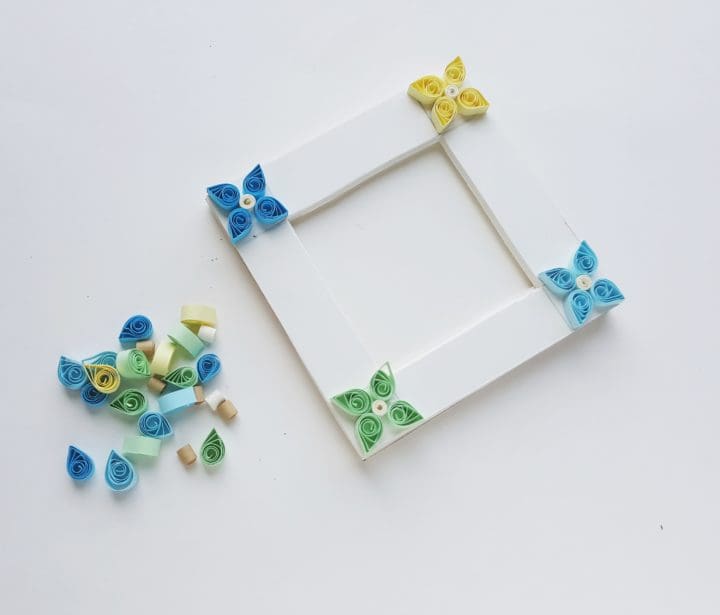
- For the quilling we’ll use 2 shapes; basic eye pattern and coil pattern. We’ll need both loose and tight coils. Select different colored paper strips for the quilling and prepare the shapes.
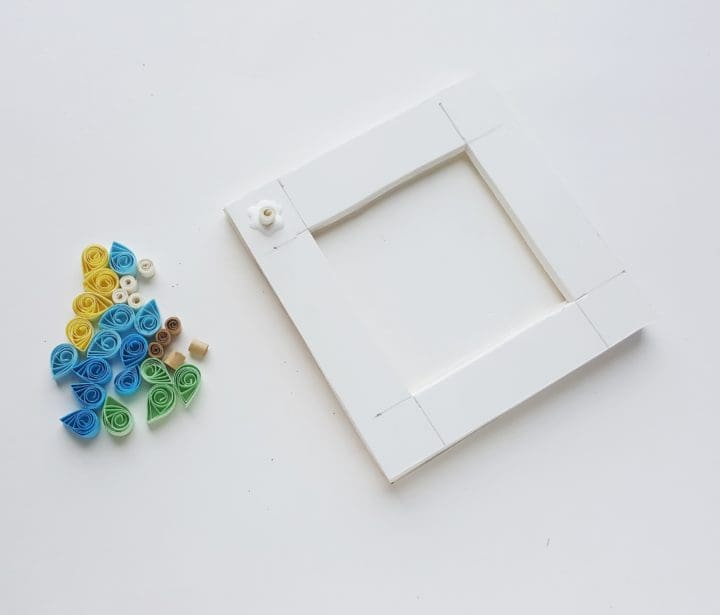
- Done preparing the shapes? Now you can start decorating the frame. Start from a corner. I glued a tight coil on the top left corner of the frame. This will be the center of the first flower.
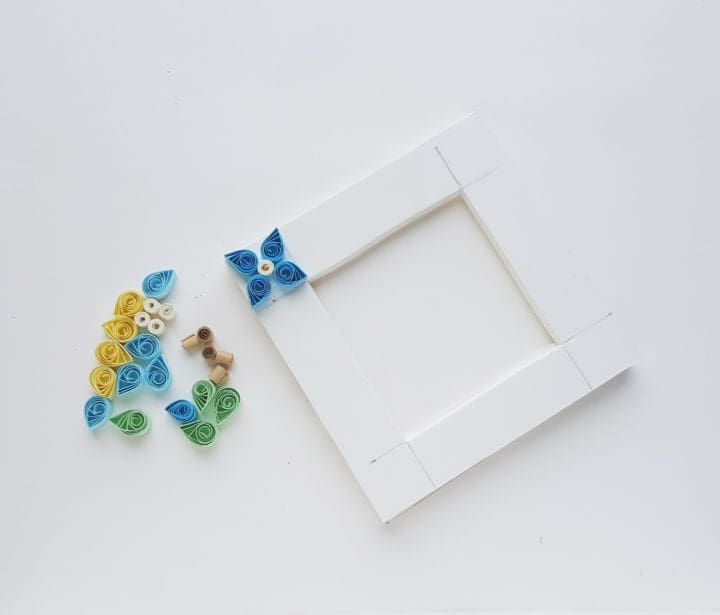
- Glue 4 eye patterns on 4 sides of the tight coil glued in the previous step. Simply glue the shapes on the frame using craft glue.
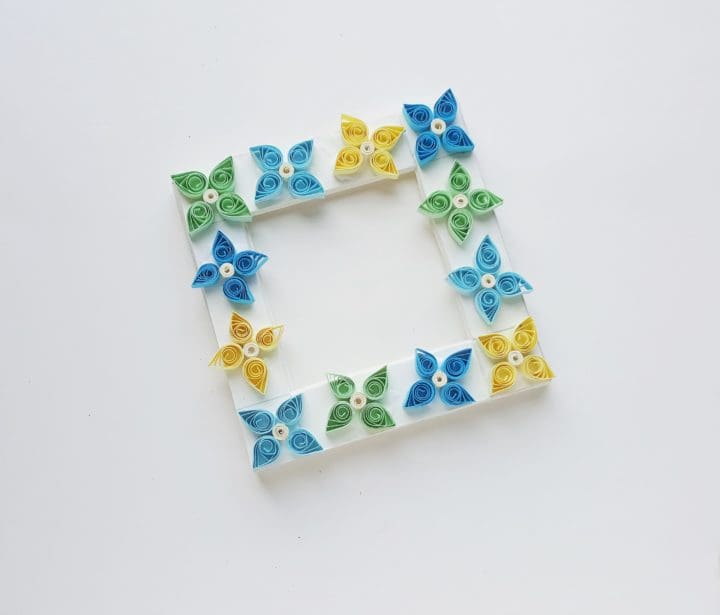
- I then created 3 more flower patterns on the rest of the 3 corners of the frame.
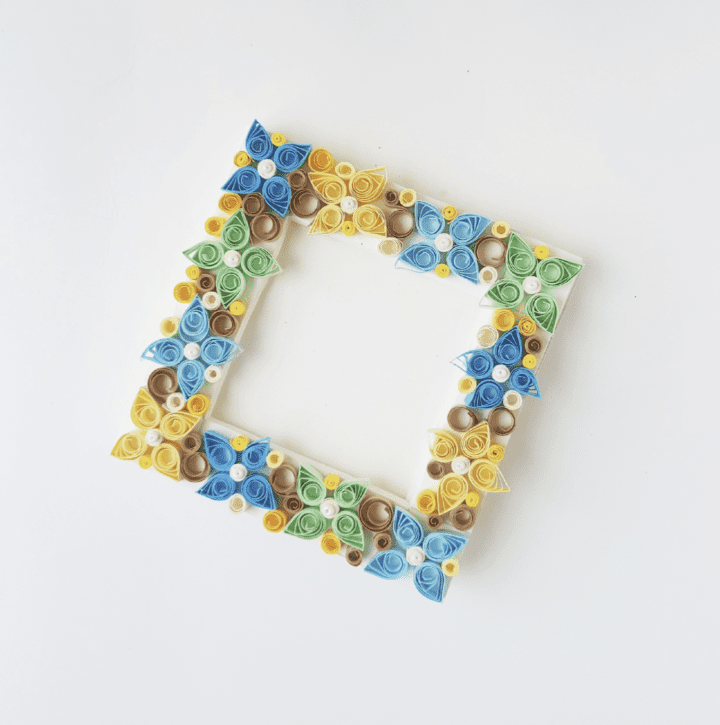
- Continue to glue the shapes until the frame is filled.
- Once you’re done creating the flowers you can use the tight and loose coils to fill up any gaps between the quilled flower patterns.
Paper Quilling Cards Easy DIY Basket
Paper Quilling Flowers DIY Craft
We hope that this Paper Quilling Flowers DIY Craft post inspires you. Happy crafting!

How to Make Flowers Last Longer in The Vase
You May Also Like

