DIY Canvas Globe Painting
 DIY Canvas Globe Painting
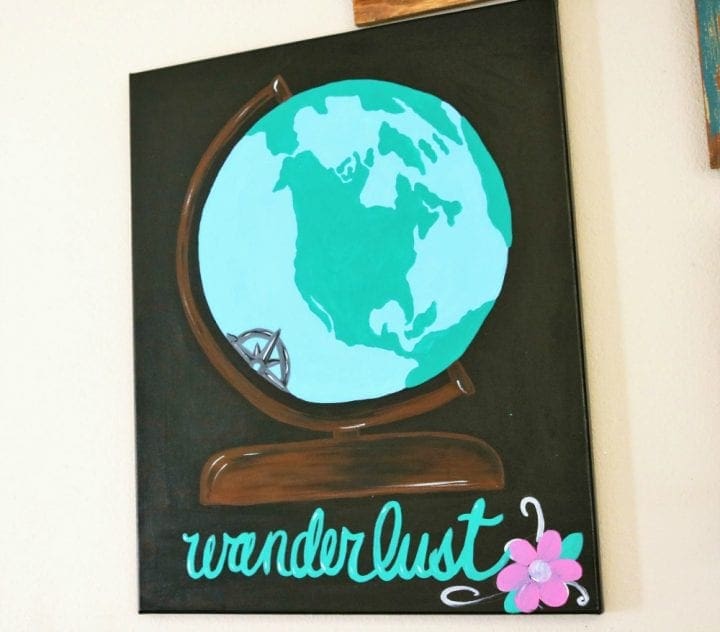
Painting canvases has become quite a trend these days and it can really be a fun experience, especially if you combine it with some good friends and good snacks. This particular painting is great for homeschoolers or teachers with the globe theme, so you can get a few mom friends together and paint some up, and either keep them for your school room, or give them as gifts to your kid’s favorite teacher.
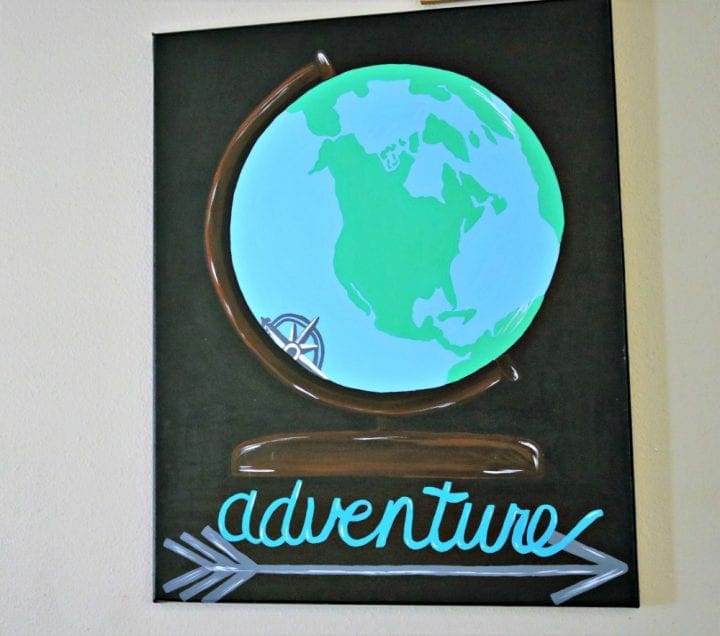
The first thing you will need to do if you want to make the globe look accurate is to either print off one of the pictures from the finished product, or go to google images and find a good example of the globe that you like and would want yours to look like. Print it zoomed in if needed, so you can trace it, or you can just pencil the shape on as close as possible.
 DIY Canvas Globe Painting
Materials
- Your printed globe picture
- 16” x 20” canvas
- Pencil, eraser
- Palette or sturdy paper plate
- Cup of water
- Paper towels
- Variety of brushes and be sure you have about a 1” size and also a very tiny one for detailing
- The following paint colors plus any you would prefer to add:
- Black, white, light blue, teal or green, yellow, brown, and for letting if desired, pink and purple
- For compass if desired, gray
- Easel if you have access to one
- Transfer paper and tracing tool or dull pencil
- Scotch tape
- Dinner size plate
Directions
- To get started you first must trace the globe on to the canvas. If you want your wording on the bottom of the canvas as shown then be sure you leave room for that before tracing the globe.
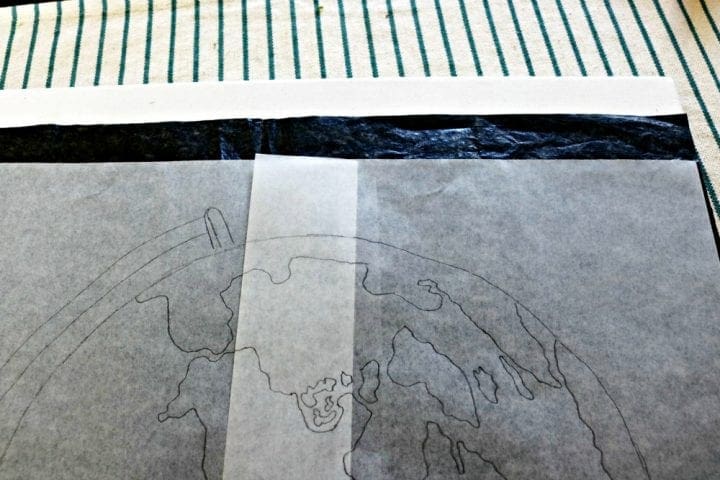
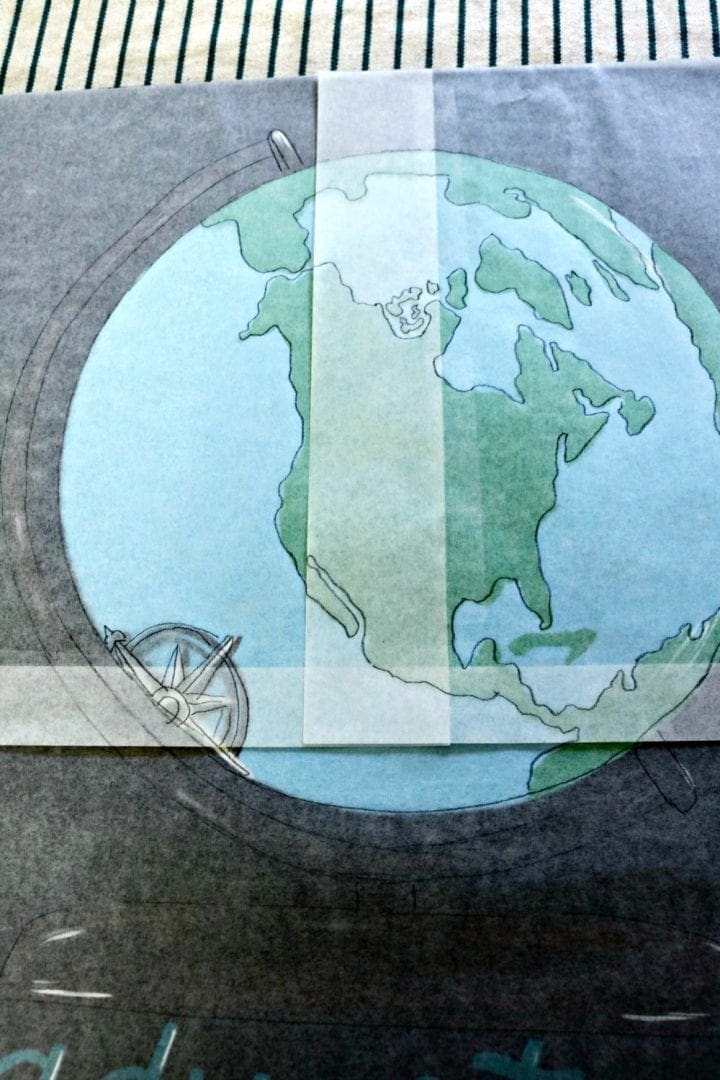
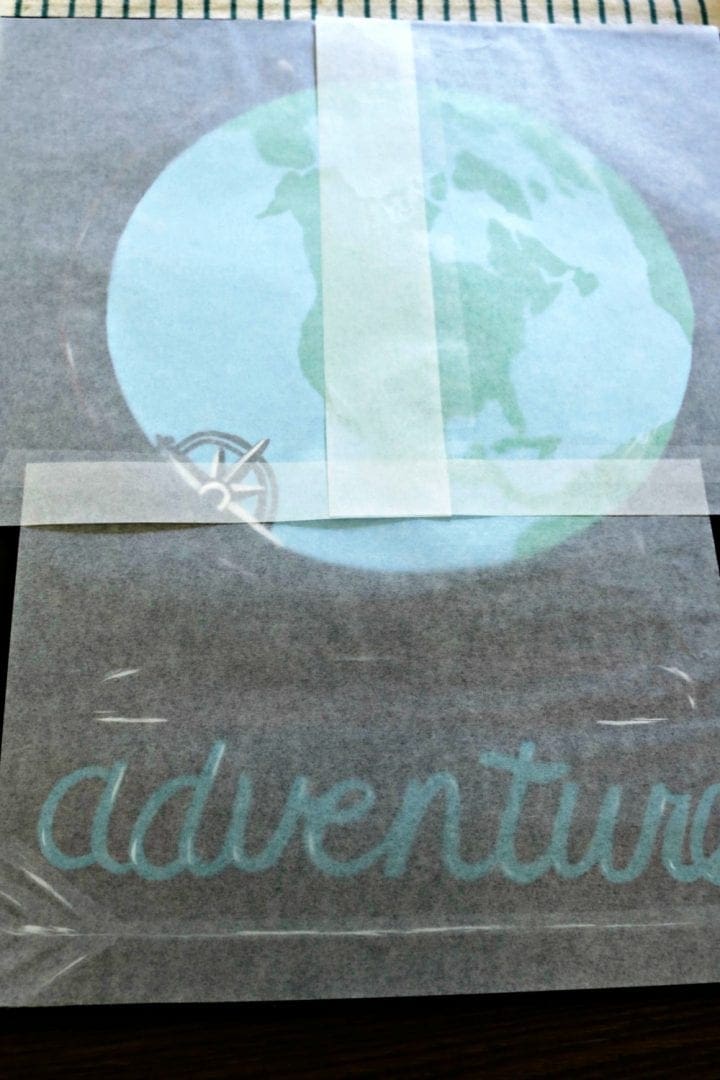
- Now, find the center of the canvas and you are going to trace the plate to form the outside of the circle so it’s nice and perfectly round. Use a plate that is fairly flat to help.
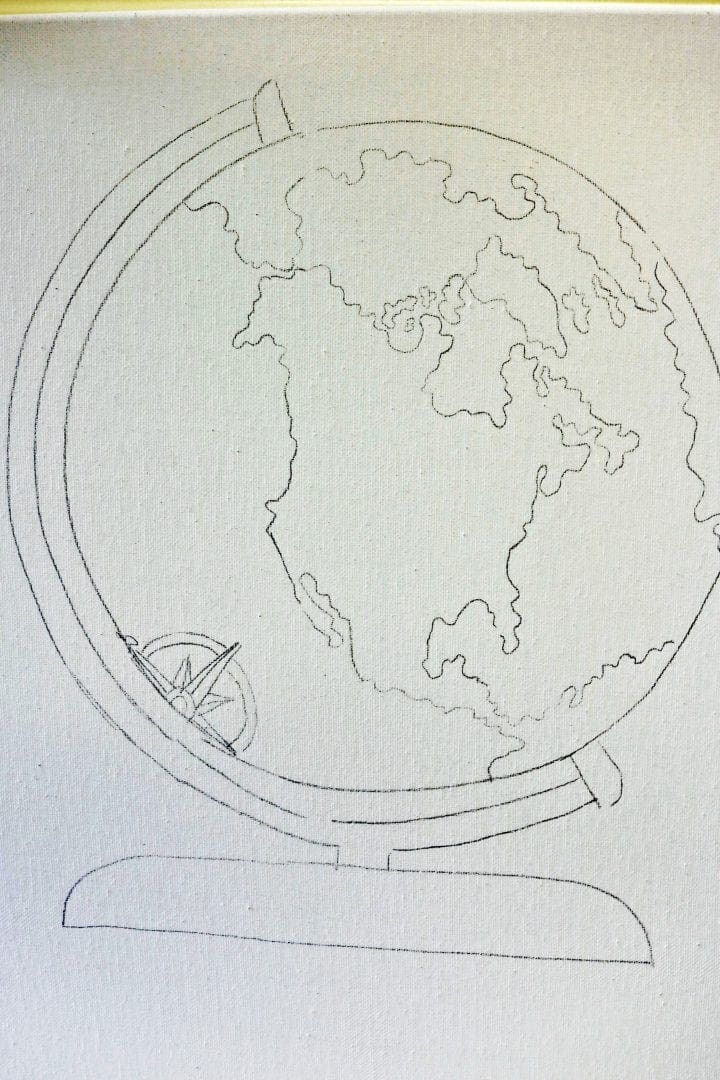
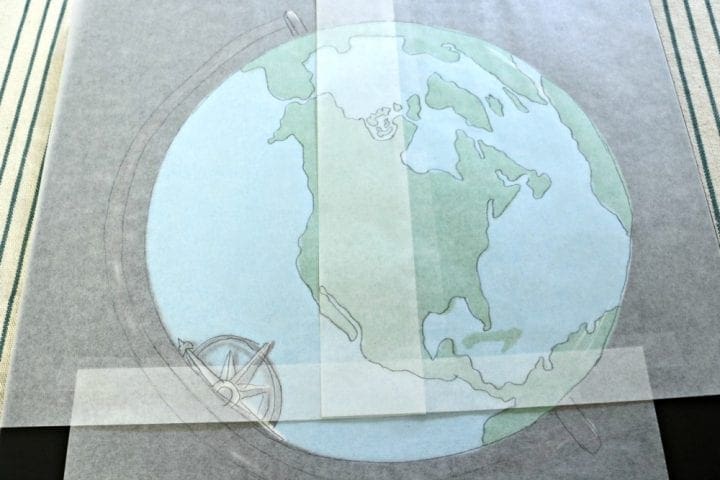

- Then if you are using a printed picture of the finished painting that is shown here then you can go ahead and line that up over the top of the canvas where you want it to be, and then place the transfer paper, carbon side down, under the picture and use the tracing tool or a dull pencil to trace it on. Otherwise, you will just need to sketch in the form of the base and the side piece that holds the globe, and then the land. Don’t worry with the wording until last because you will be painting the black background first. If your tracing paper is smaller than the canvas, as most are, just use a few pieces and tape them together on one side, like shown.
- Double check your tracing to be sure you got all the lines in before you move the picture off the canvas, otherwise you will have to re-align it to make sure it matches up. Don’t sweat making it look perfect. It is meant to be artistic and not like a photograph and it’s ok if it’s not a perfect rendition of the land on a real globe.
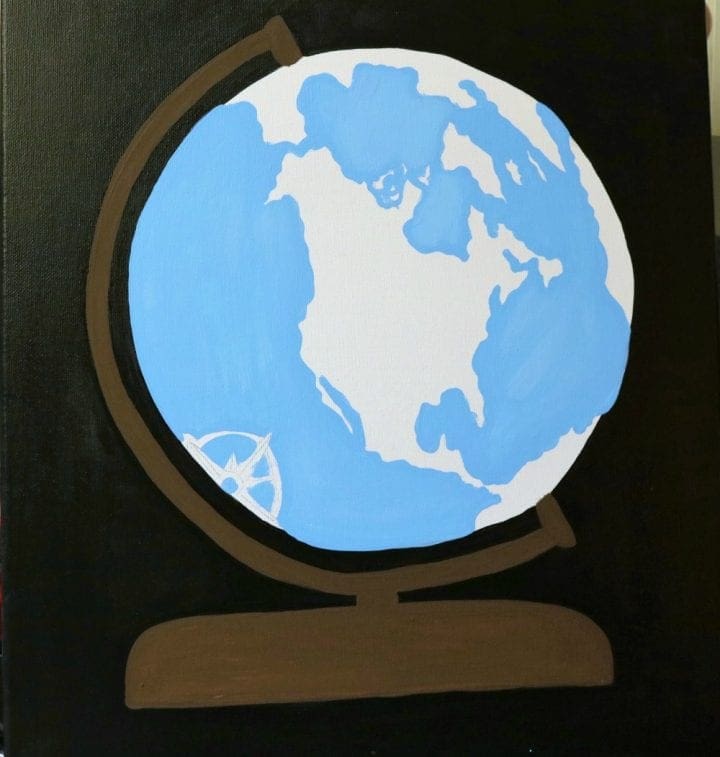
- Now to begin painting – Use a medium to small sized brush and wet it a little in your water, then blot on the paper towel before putting into the paint. Repeat this with each new brush you use, as it helps the paint flow easier than with a dry brush.
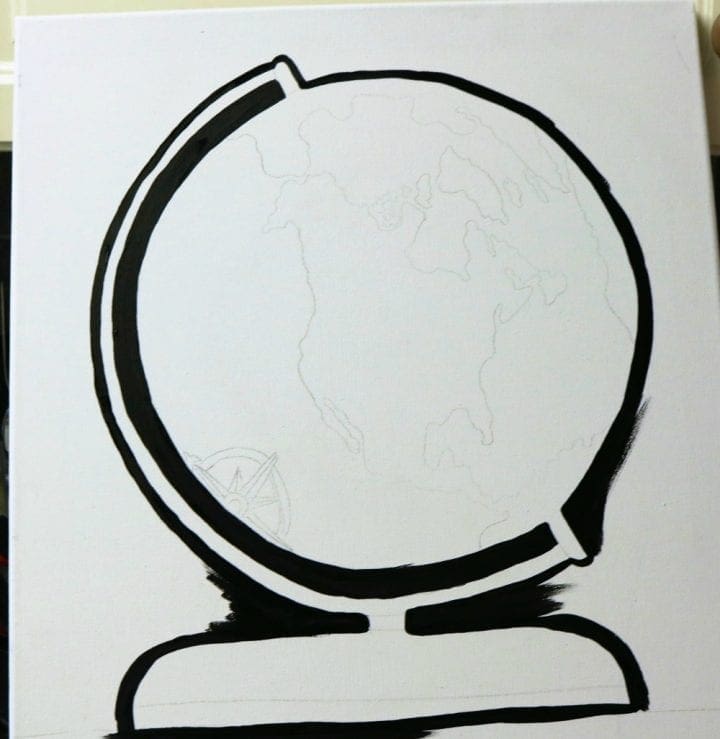
- You will be doing the black background first, so use that smaller brush and go in between the lines around the globe and base and then the entire outside of the globe itself. Once it is good, you can use your larger brush to paint the rest of the background. You will probably need a second coat, so as it is drying, you’ll see for sure but most times, some of the canvas will still be showing through and you definitely want a good, solid black background for this to really look good and resemble a chalkboard as intended. Also, be sure to paint all your outside edges black too. You don’t want white screaming at you from the wall where you hang it. You can do the bottom edge last if you choose to, just flip the canvas upside down and paint it and let it dry a bit before turning it over.
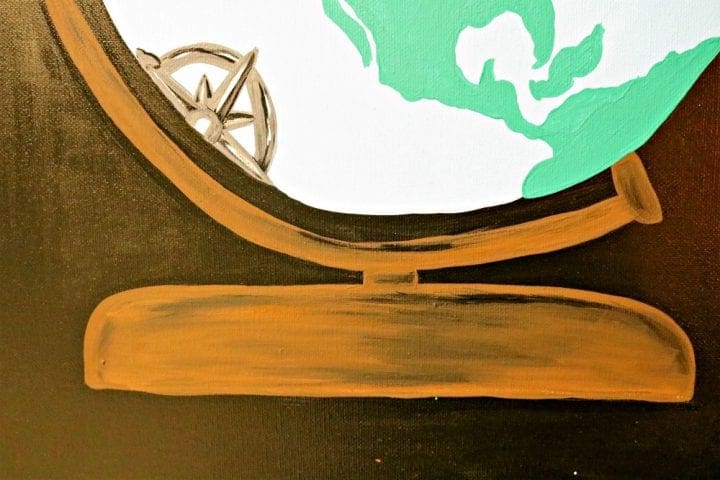
- Next, paint in the brown on the base and the side piece. You will do this the same way, starting with a thinner brush for the edges first and then a slightly larger one to fill in with. It will take two coats as well. You can also use a little yellow mixed in if you feel like the brown isn’t quite the right color for the brass. Some people like to think of it as wood, so if you like that idea, you can use a little bit of black, and with a small brush, add some “wood” like details to it, some swirls and lines here and there to give it some dimension. If you are going with the brassy look, highlight on the curves and edges some with black for shadowing and yellow or white for light reflections. It is up to you how much detail you put it. The samples are not overly done because I felt it may take away from the globe if it got too busy.
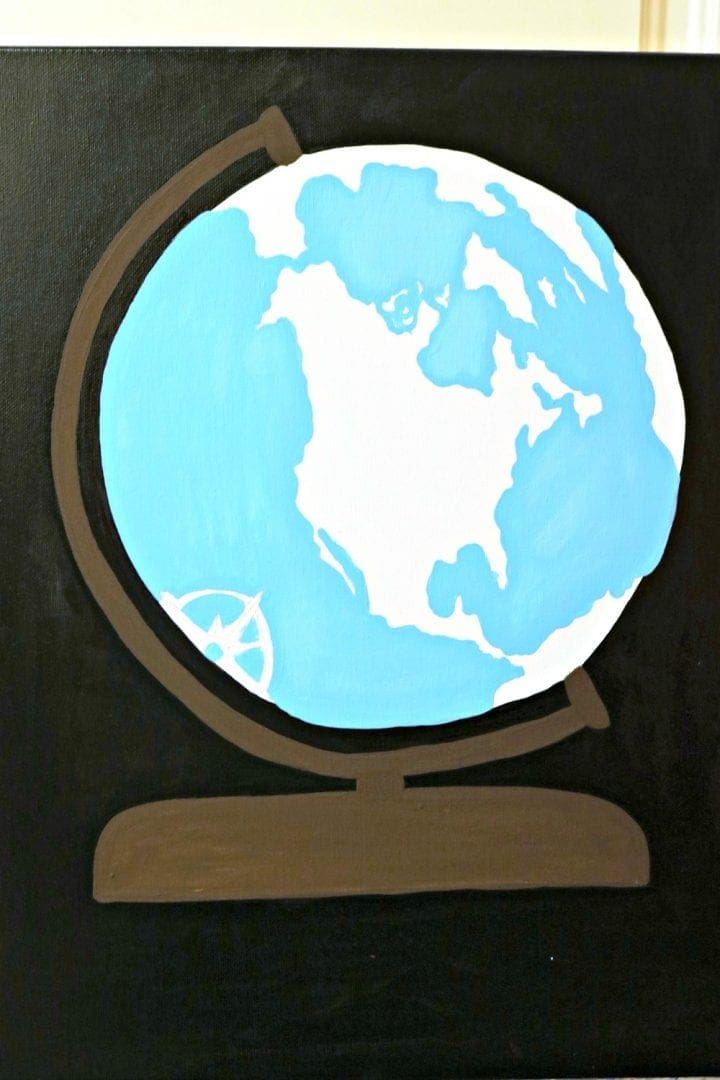
- The next part to paint is the globe itself. Begin with the blue you chose for the water, and using a fairly tiny brush, do all your outlines around the land first, then go back with a small to medium and fill in. As it is drying, go ahead and do the green land. You can do it the exact same way. As you are doing the green paint, you’ll be able to tell if the blue water needs any more coats or touched up and once you finish the green, go ahead and do that. Then, repeat with the green land.
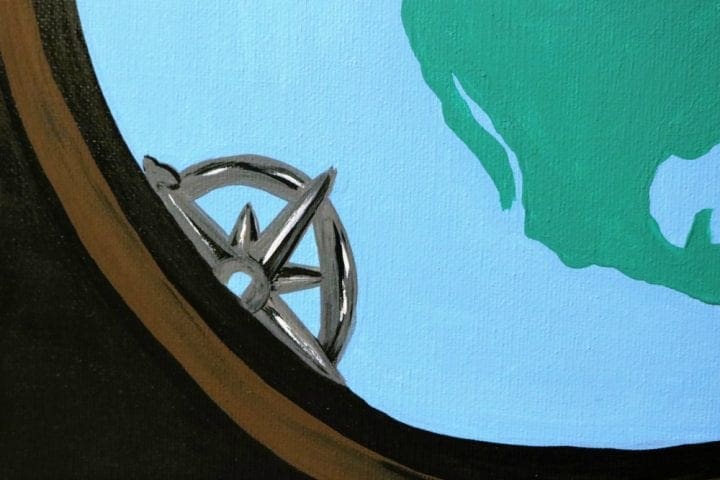
- Now is where you would add a compass or any other things to the actual globe, and if you need to, lightly sketch them in pencil first, but be sure that paint is dry otherwise it could ruin the paint.
- If you are doing the compass, use your gray first and then just give it some white little highlights to add a pop to it and make it look a little less flat.
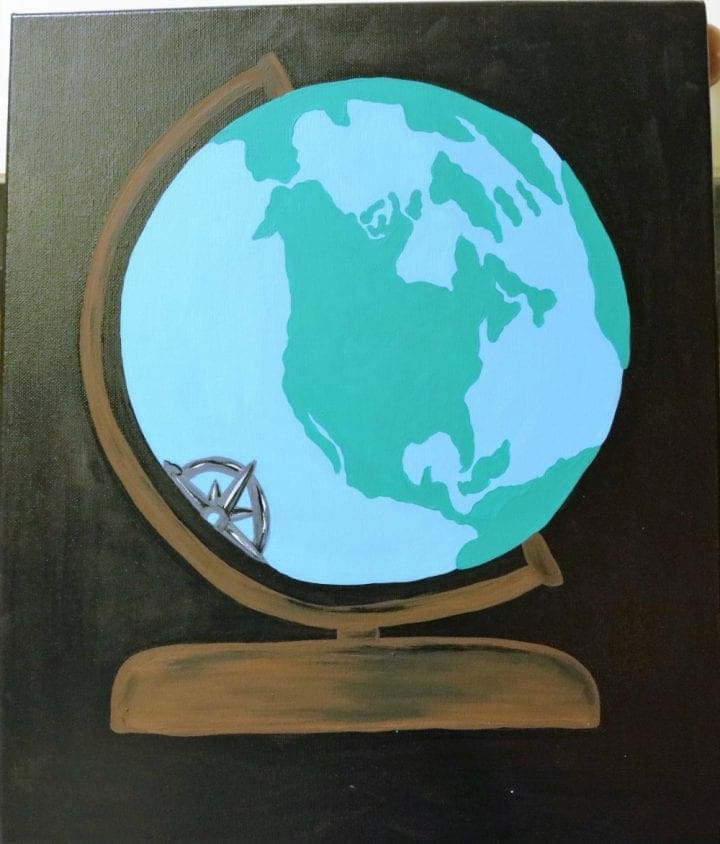
- Next is your wording. You can do any wording you’d like but you need to decide ahead and lightly sketch at least a few of the letters to be sure it fits well. If you want to add a flower or arrow..etc. that makes a nice bonus. I would recommend one to two words, max, so it can be of a good size and really show up. If you do too many, it may get lost.
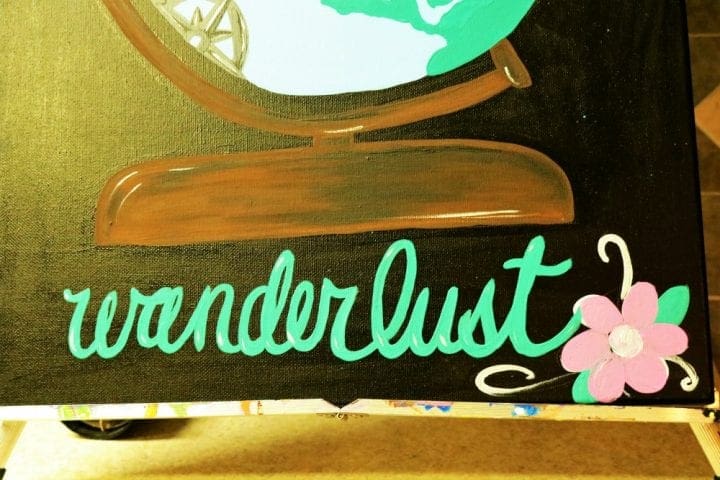
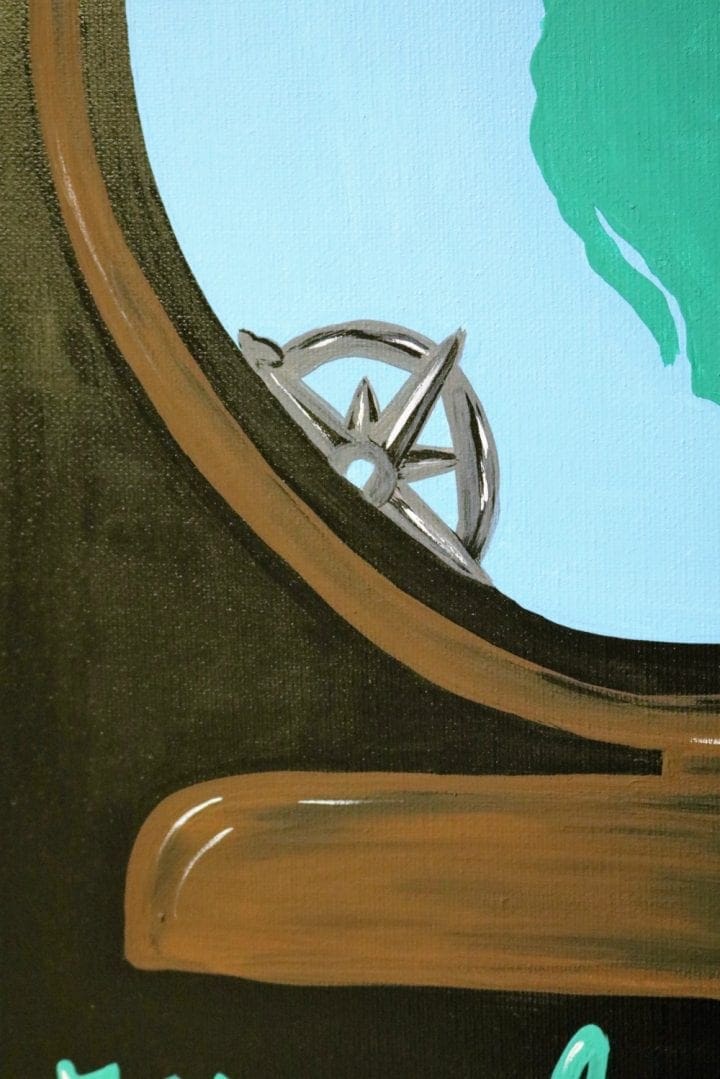
- Choose either to do cursive, which honestly, may be easier to paint as it doesn’t have to look as perfect, or manuscript, which takes less time but you do need to be able to paint a good solid straight line. Practice on paper first if you’re nervous. If you are doing a flower or arrow, or any other accent, paint those before the lettering so that if it overlaps anywhere the letters don’t get covered up.
- For the flowers: Paint a yellow center and then do the outlines of the petals in a tiny brush first, then fill in with the rest of the color and do a few green leaves, the same way, outlining and then filling in. Highlight with a little white to give dimension.
- For the Arrow: Paint the outline first, so that you can get the shape right, then fill in the rest of the paint. Go back in after it dries a bit and add some black shadowing to the bottom side of it, the bottom of the ends and arrow tip, and then a bit of white on the top side for highlights.
- Now, go ahead and paint in the first layer of the letters in whatever color you chose, using the tiniest brush you have. Hold it the way you would a pencil and brace one side of the hand on the canvas to help steady yourself too. The best thing to do is make sure there is enough paint on the brush, and that it is just a bit wet, so it flows well. Use the longest strokes you can and not short, choppy ones to get a smooth look on the letters.
- Then, go back once it has dried some and fill in anywhere you need to and clean up any edges.

- Then last thing you will need to do on the lettering is some white highlights. Choose a side of the letters to do the main ones on so it’s consistent and then just here and there do a few other small ones. This lifts the letters off the canvas some so they aren’t flat. Paint your bottom edge black if you haven’t done that yet. Now paint in anything else you see that needs a touch up or edge cleaned up, add your signature, and you are all set!

You May Also Like
 DIY Canvas Globe Painting
 DIY Canvas Globe Painting


This is really quite interesting how this was done. I think canvas painting, and I think more ‘free style” and real painting. I have seen more and more off these done from pictures which make it much more accurate and realistic. I like the colors of this and the sentiment.
It was incredible the impression that of it is that it was in 3d
That painting looks great! This is very similar to the wine and painting nights that I go to with my girlfriends. Love it!
That is so fun! I love doing projects like this for home dec. It makes everything so much more personal. And it’s just plain fun.
This is so pretty, you did a great job! I used to do a lot of painting but struggle to find the time lately.
What a beautiful canvas!!! I love the saying on it!
What a great idea for any travel lover! I can even see my children designing a painting like this as a gift for my inlaws.
This turned out so cute. I love to travel so I need to make something like this for my office.
I am so impressed with this! I suck at painting but reading this I may be able to do it or I can pay you to make me one 🙂
I love this idea! This will surely look good near my office table!
I am always looking for new art project ideas. I love this. It will look great in my home office. I will have to get the supplies I need to make one this week.
This looks like a wonderful project to do with the kids.
Such a great awareness-teacher as well as a fun activity.
That is really pretty. I LOVE this type of painting. I love doing arts with my kids and finding new things to work on with them, so this is great!
What a neat painting. This is a new way of painting I need to do.
I appreciate the detail you gave for the instructions. This looks like a nice craft for my late January art projects with my nephews!
I pinned this immediately! So creative and I would love to recreate this thanks for the demo.
These paintings look absolutely fantastic! I can see one or both them hanging in the home of anyone that loves to travel.
I love your globe paintings, Stacie! They would be perfect for a home office, or even a bedroom. I really want to attend one of those painting parties where everyone creates a canvas painting. I think it would be a lot of fun!
Wow this painting is amazing! I would for my kids to paint something like this for their bedrooms!
I loved this site
Great pictures.
Loved it.