25 Handmade Christmas Gift Tutorials
25 Handmade Christmas Gift Tutorials Making Christmas gifts is something that can be fun and let the entire family participate in. There are so many wonderful ideas below that I am certain you will...
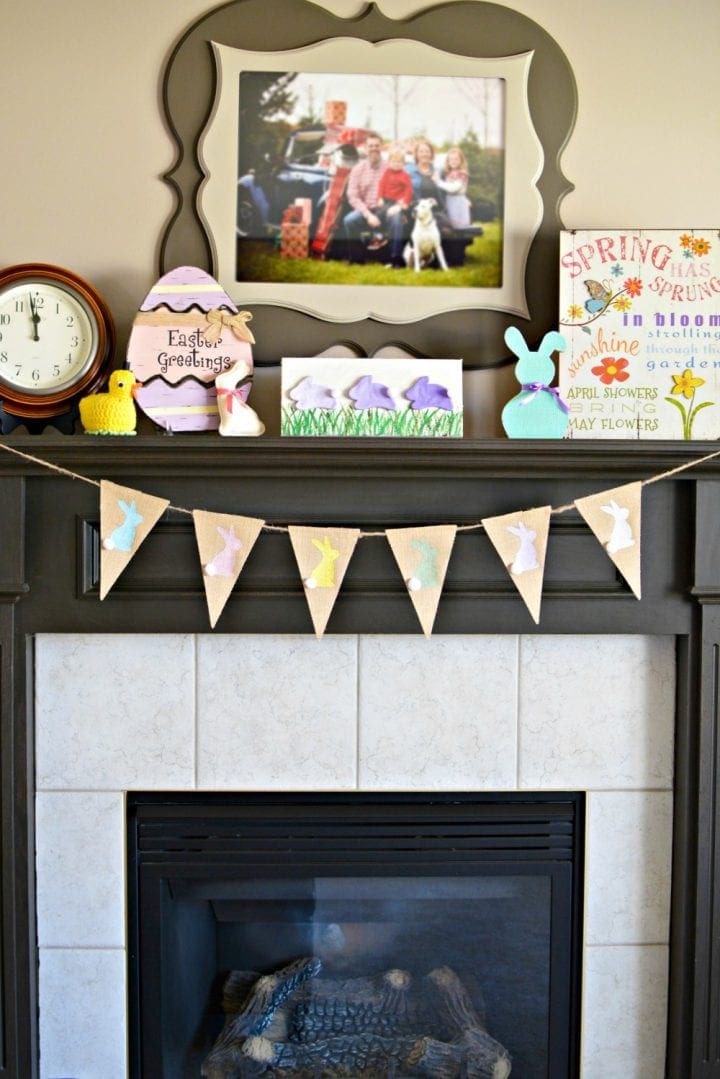 This DIY Burlap Easter Bunny Bunting #InaWaverlyWorld #WaverlyInspirations post is brought to you in partnership with Waverly Inspirations and its parent company, Iconix. I have been compensated for my time. All opinions and ideas are my own. Read our full disclosure policy here.
You have no idea how excited we are for Easter around here. We are making Easter baskets and designing our Easter cards plus planning a fun luncheon so every can come over. We are in full on Easter mode around here so we are thrilled to share our DIY Burlap Easter Bunny Bunting with you!
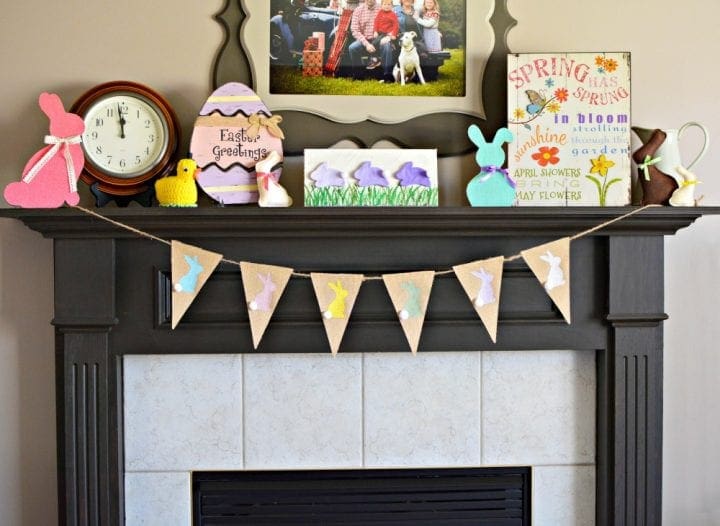 DIY Burlap Easter Bunny Bunting
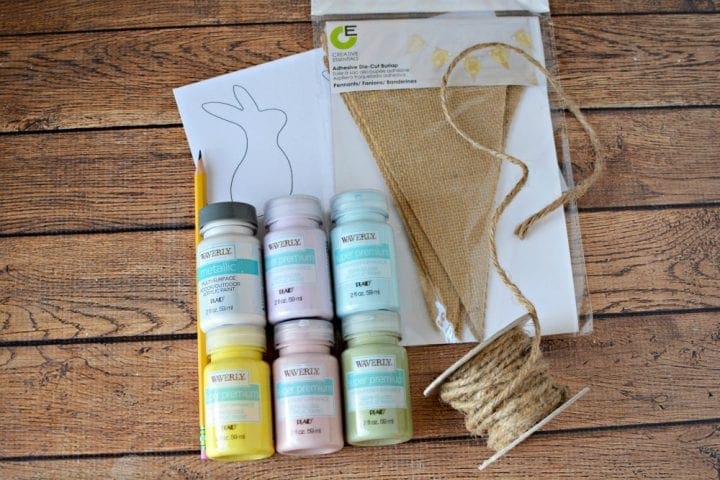
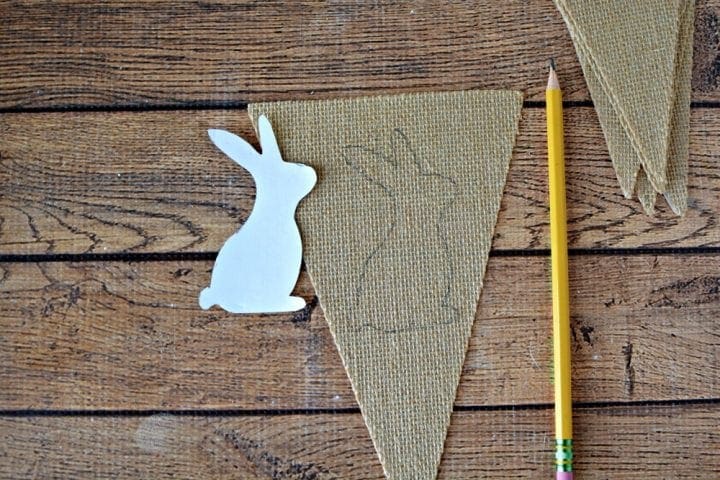
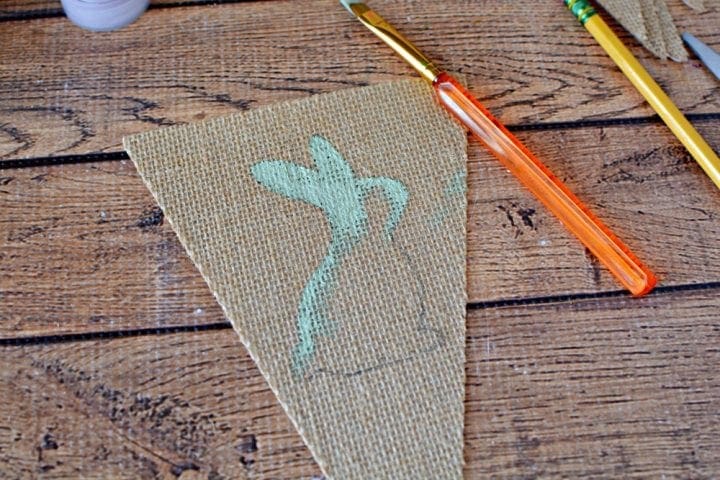
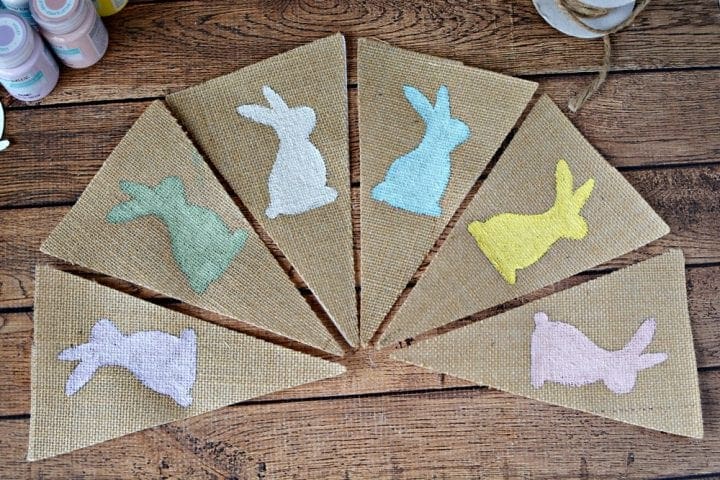

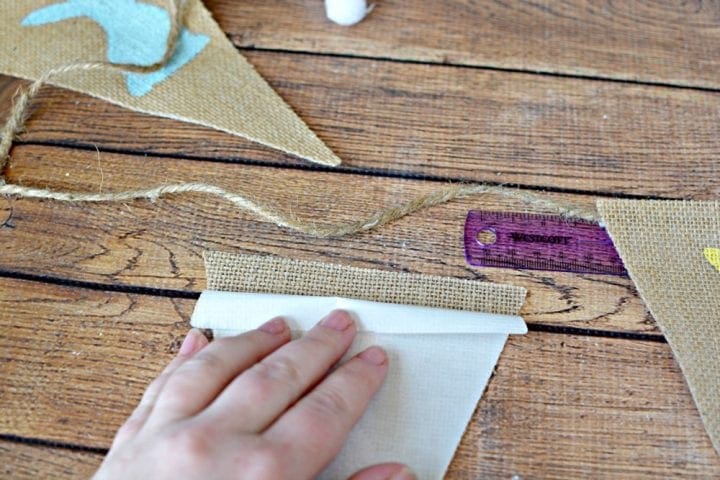
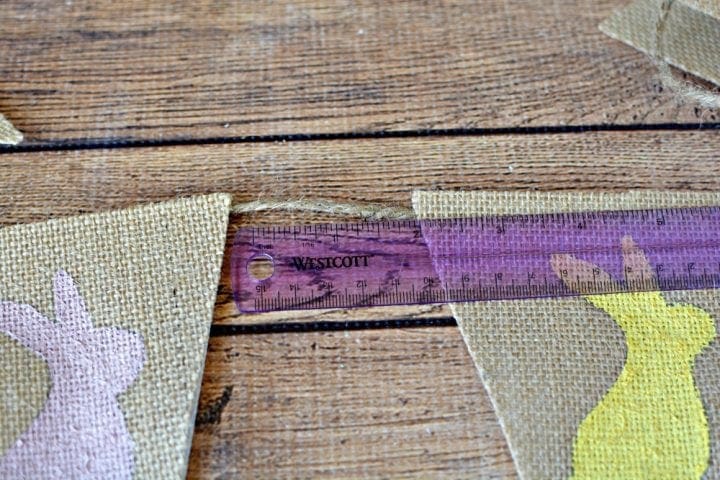

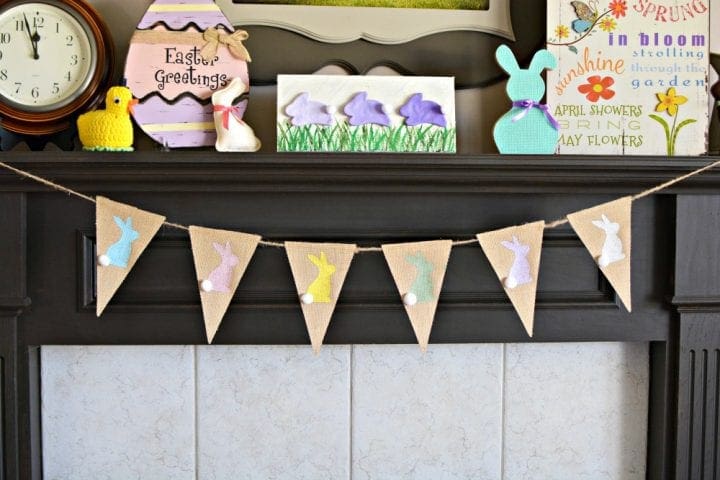 Directions:
The Waverly Inspirations collection takes its design direction from its rich archives of American design and updates these patterns for today’s consumer. Whether you are a beginner sewer or crafter, or an experienced one, Waverly Inspirations has something for everyone. From fabric to ribbon, from craft paint to home décor. Waverly Inspirations can help you with all of your decorating needs.
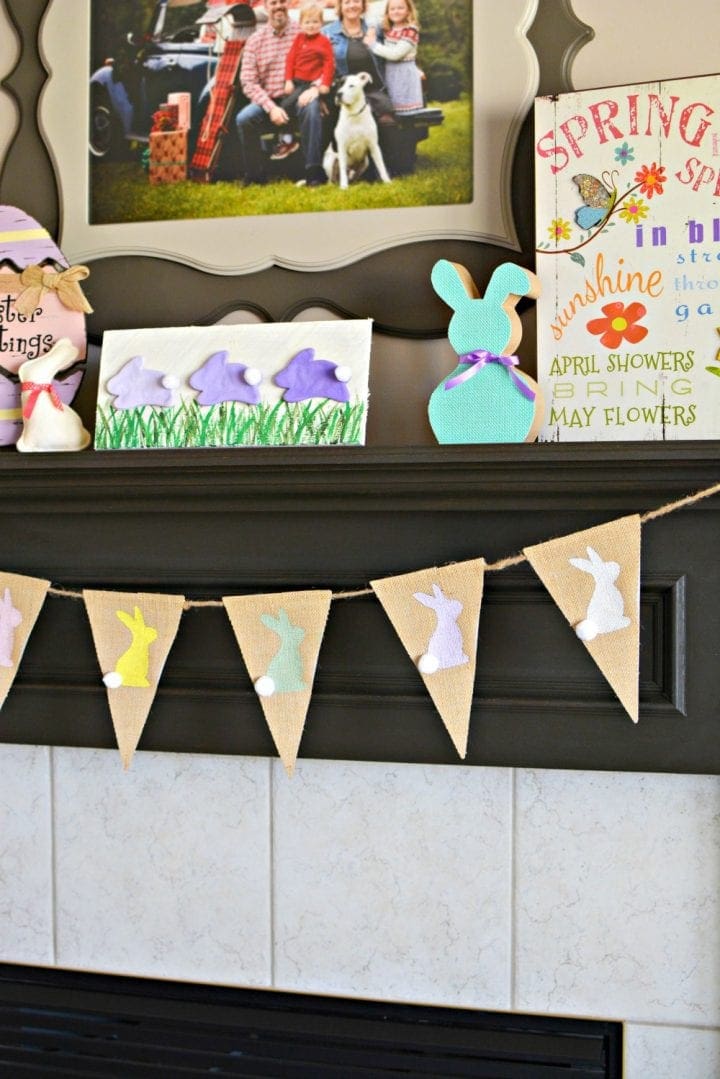 Get Social with Waverly
Check out Waverly on Instagram
Like Waverly on Facebook
See Waverly on Pinterest
Tweet with Waverly on Twitter
Oh this is so nice! I love decorating with burlap and this is such a cute decoration to bring out each year. I love those bunnies!
What a cute mantel! This looks like a great project, simple too!
This is darling! This year I wanted to come up with some kind of a decoration to make with my son. I think he would love this creative idea.
This is such a cute Easter decorations. I like to decorate but minimally – this is the perfect way to do that.
What a cute DIY! It is so primitive and would go perfect in my home too!
These are adorable! The little white tail is the perfect final touch! Can’t wait to make these for our mantel!
this is such a cute idea! i’m sure my kids would love making this.
Oh, this bunting would go PERFECTLY with the wreath that I just made! Perfectly matching colors in the paint too! I know what I want to make this weekend!
What a cute decoration for Easter. I like how easy it is to make.
That is adorable with the bunny tails. It’s a nice touch for Easter.
I love to decorate our mantle for the holidays. I will have to get the supplies I need to make this for Easter.
Very creative and fun article. I wish I was more creative.
Rustic crafts like yours are so much fun to make, especially with kids who have the proper motor skills. What a beautiful way to decorate your mantle for Easter this year.
I love this craft idea. I wish I was as crafty, but I don’t have a fireplace, but I could still see using this somewhere in the house. Makes me want to run out and get the supplies now.
Pingback: Carrot Rice Krispie Treats Recipe for Easter Divine Lifestyle
Pingback: Easter Marshmallow Bark Recipe Delicious Treat Divine Lifestyle
Pingback: Bunny PEEPS Easter Martini Spring Alcoholic Brunch Beverages
Pingback: Easter Egg Decorating Ideas - Ms. Alisha Carlson