DIY Halloween Bat String Art

DIY Halloween Bat String Art
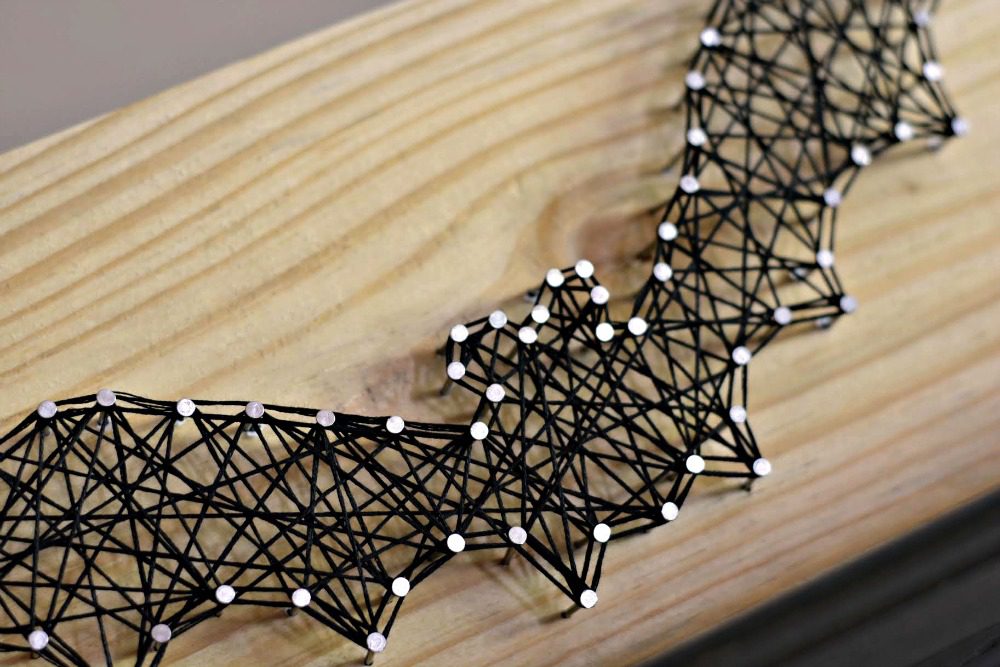
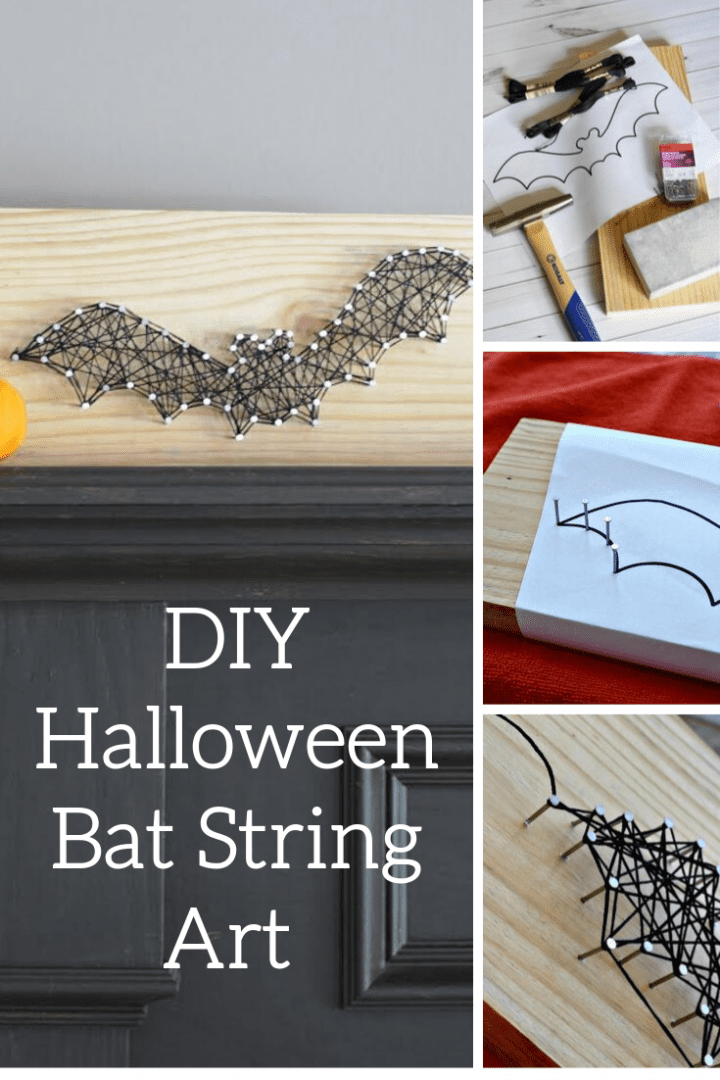
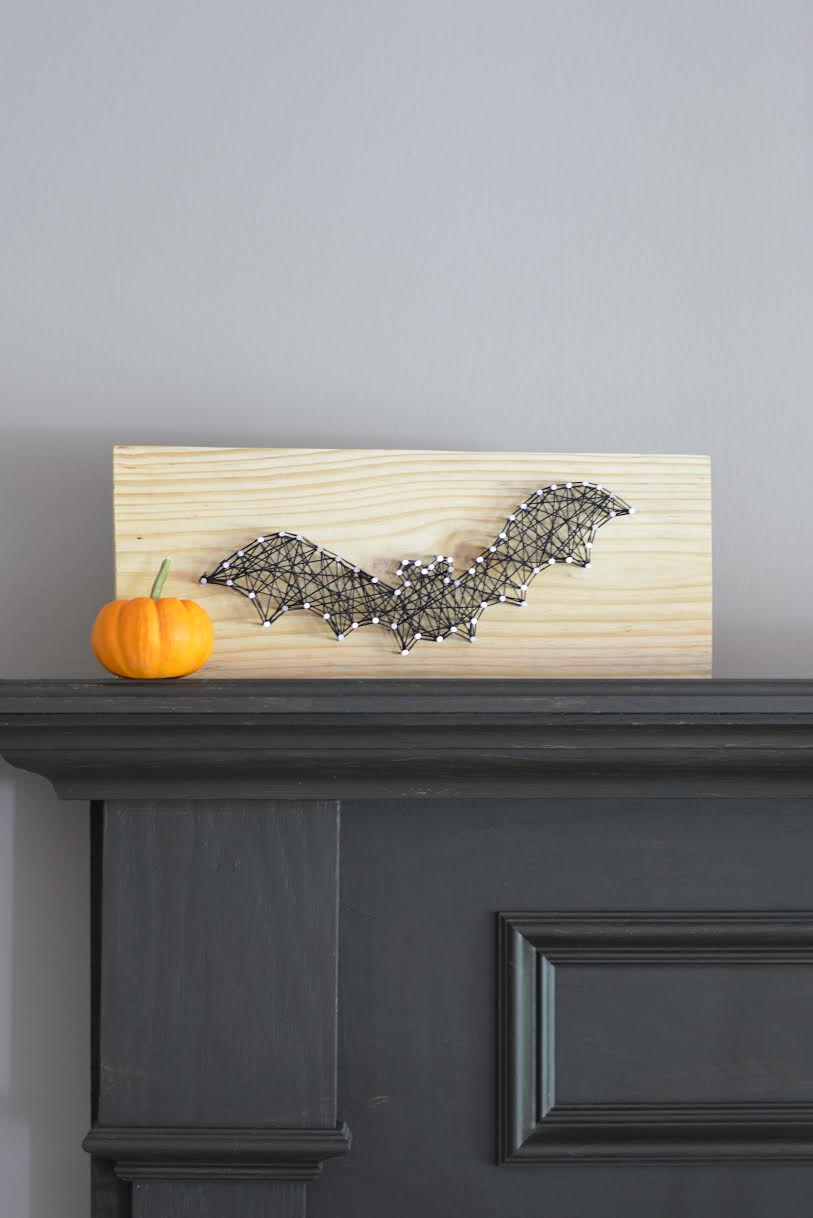
You've probably seen the string art kits or string art youtube videos or even how to do string art without nails. This string art for beginners post gives you the perfect start with diy string art on wood in cute Halloween nail and string art patterns. Our handy string diy features string art tips and this family string art project even features string art patterns for beginners which means this is also string art for kids. We hope that you love this DIY Halloween Bat String Art decor.
Now you can repurpose pallet wood or scrap wood that you have around your house and make string art easy. Then use inexpensive wire nails and embroider floss to create this unique and hand made decor. You can also paint or stain your wood to your liking and then you have this adorable Halloween decoration.
DIY Halloween Bat String Art
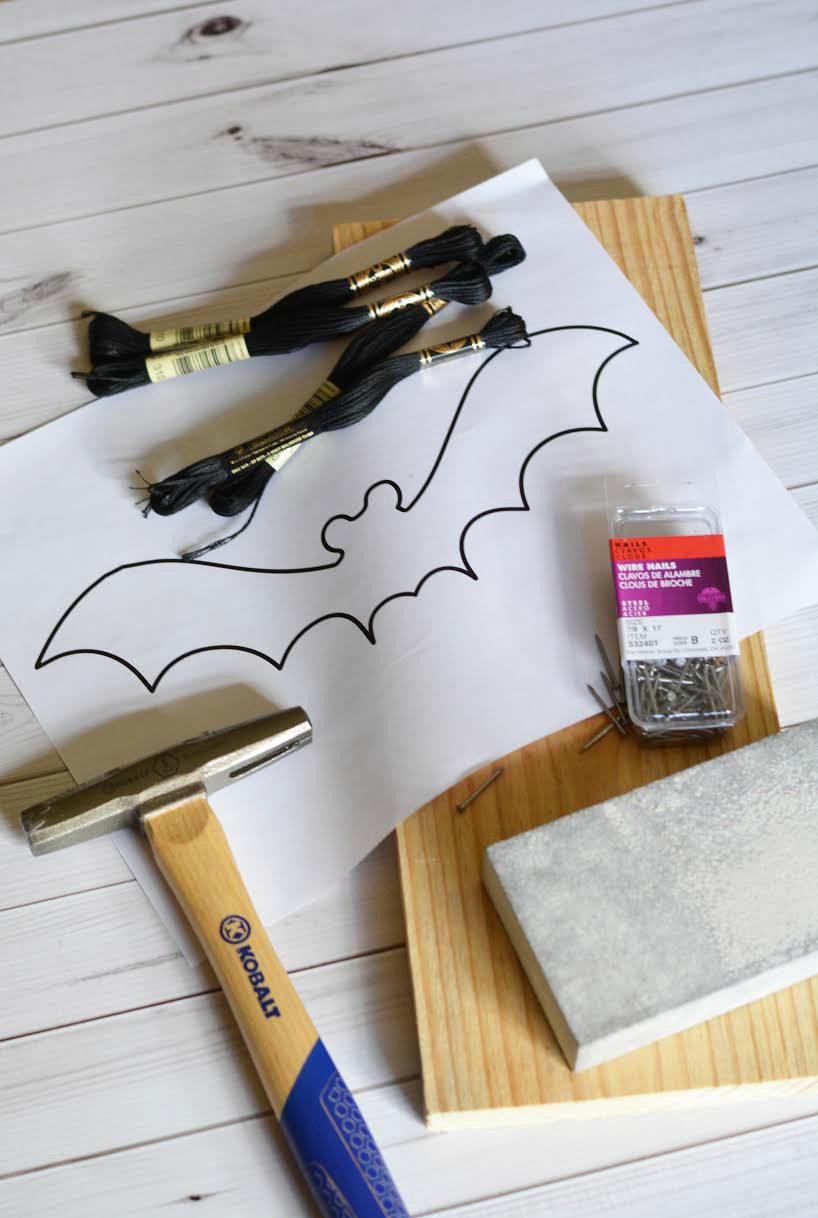
Materials



Directions
-
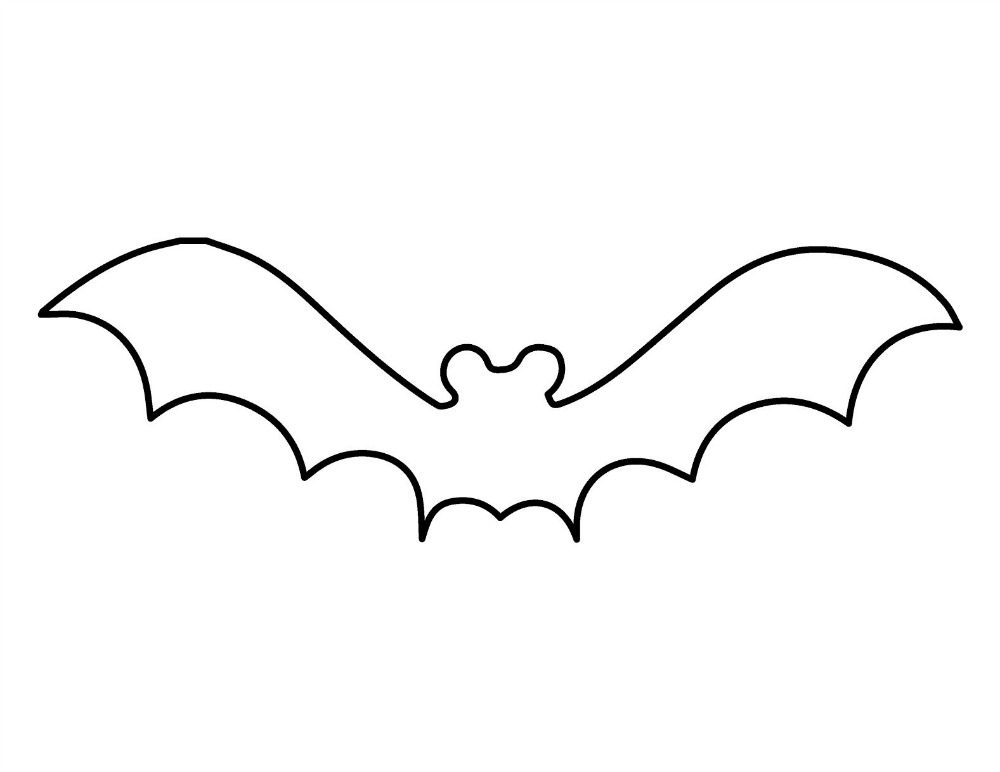
- You'll want to start by downloading the string art pdf above.
- Sand your pallet board (if necessary) with a sanding block to remove the sharp and jagged edges.
- On a flat surface covered with an old towel, decide how you want your bat to lay on the board. Do you want it straight? Angled? more to the left than the right? Position and fold under your board or tape gently onto the wood.
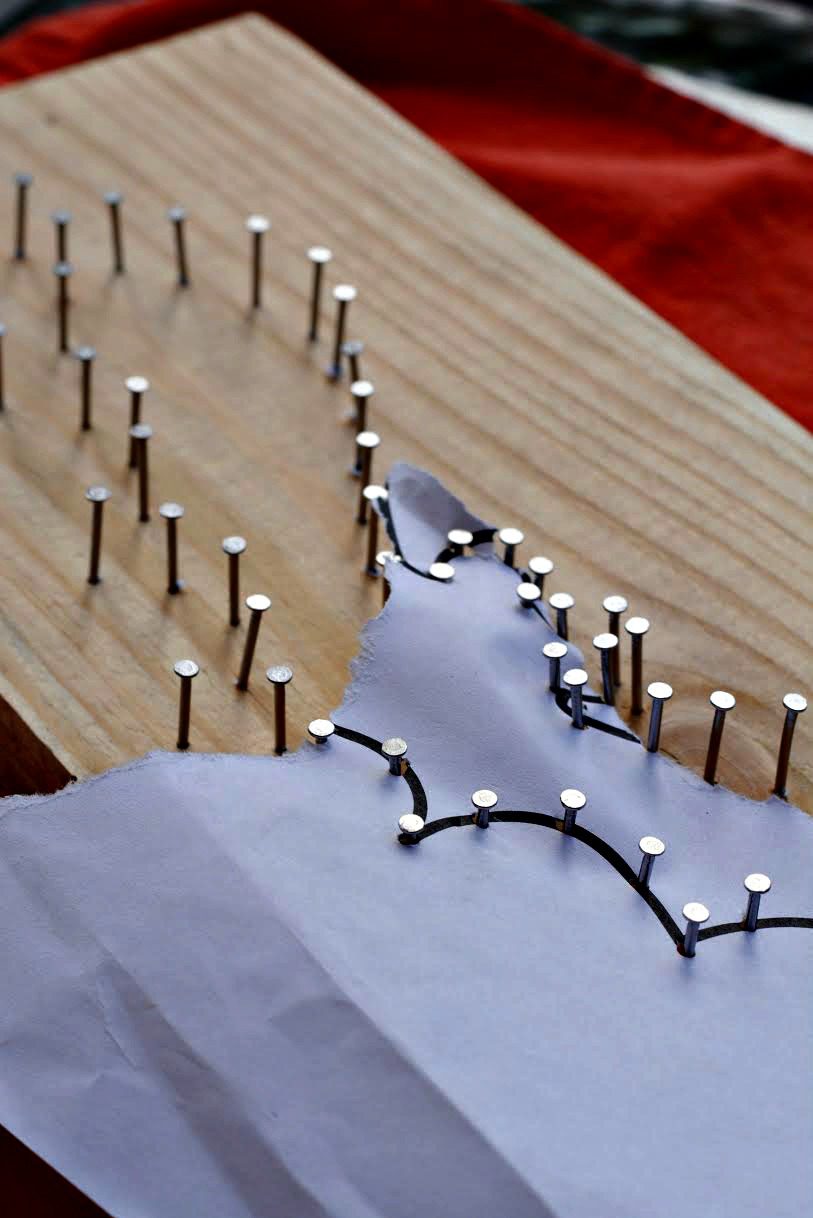
- Begin to pound the nails. Start at one corner and follow the outline (loosely is okay) around the bat. You'll want to space your nails about 1/2″ apart, for me it's about a finger width. Closer together on curvy areas may be necessary.
- Once complete, pull the pattern UP away from the board. Then tear it off. Use tweezers if some of the paper sticks to the nails.
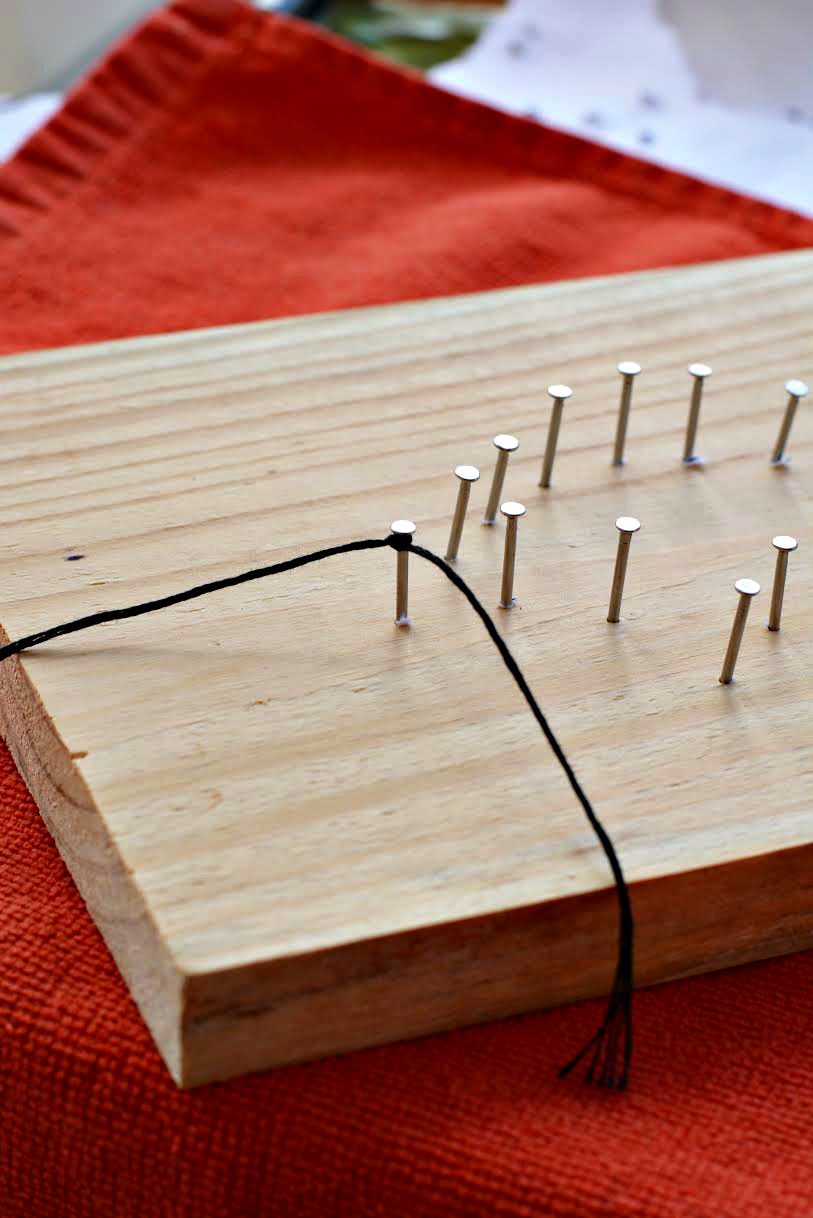
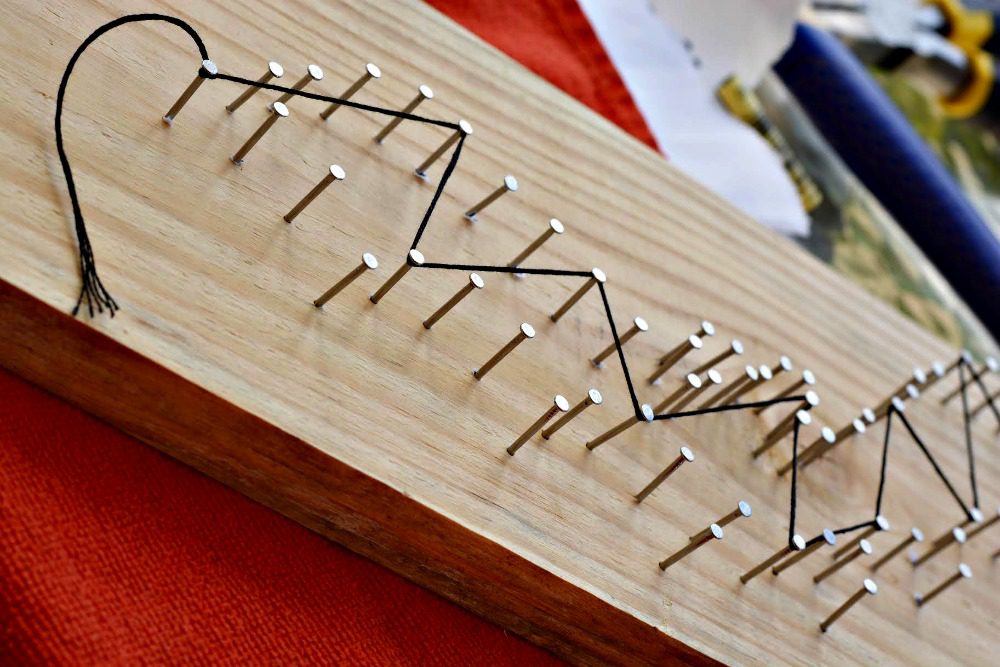
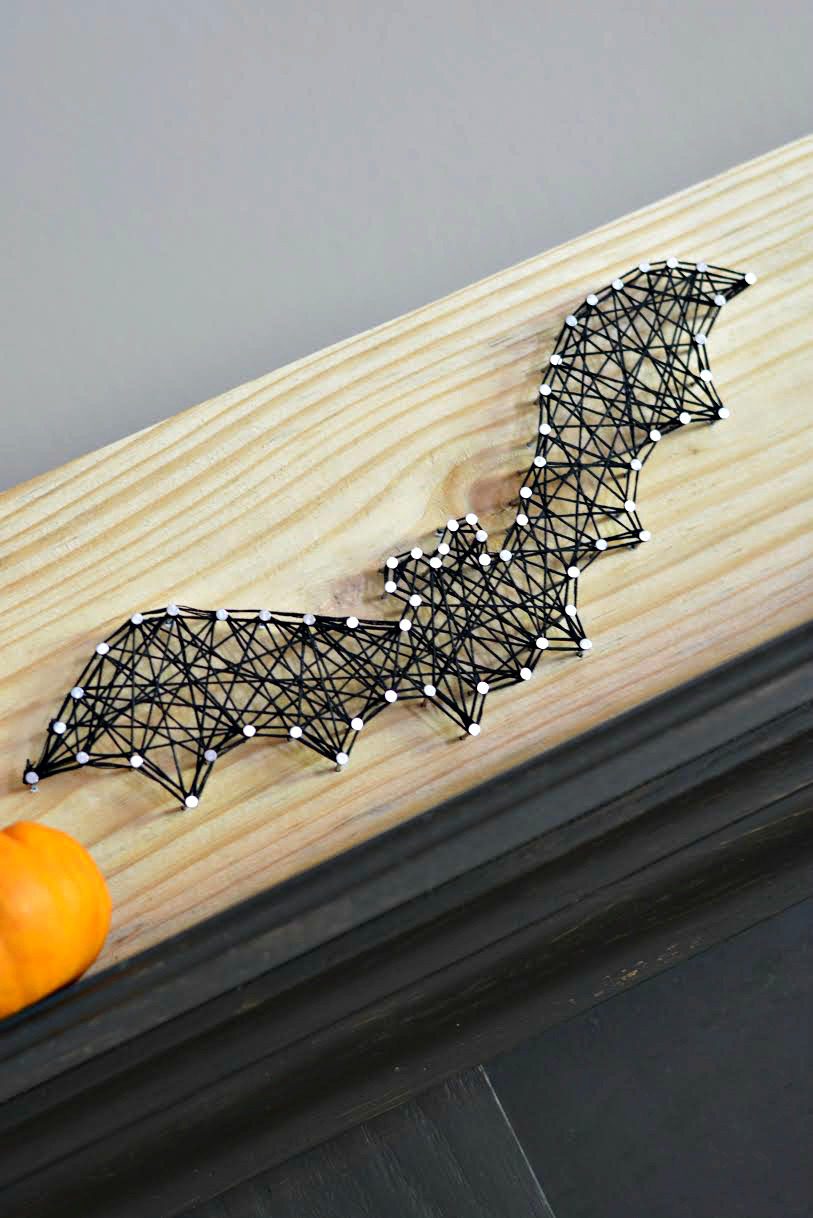
- Unwind about 3 feet of embroidery floss – do not unwind the individual strands. You use all six at once. Tie it around the nail, preferably on one side. Double the knot. Begin to string. Go with a zig zag motion – there's no wrong or right way. And when you're happy with your look, finish where you began.
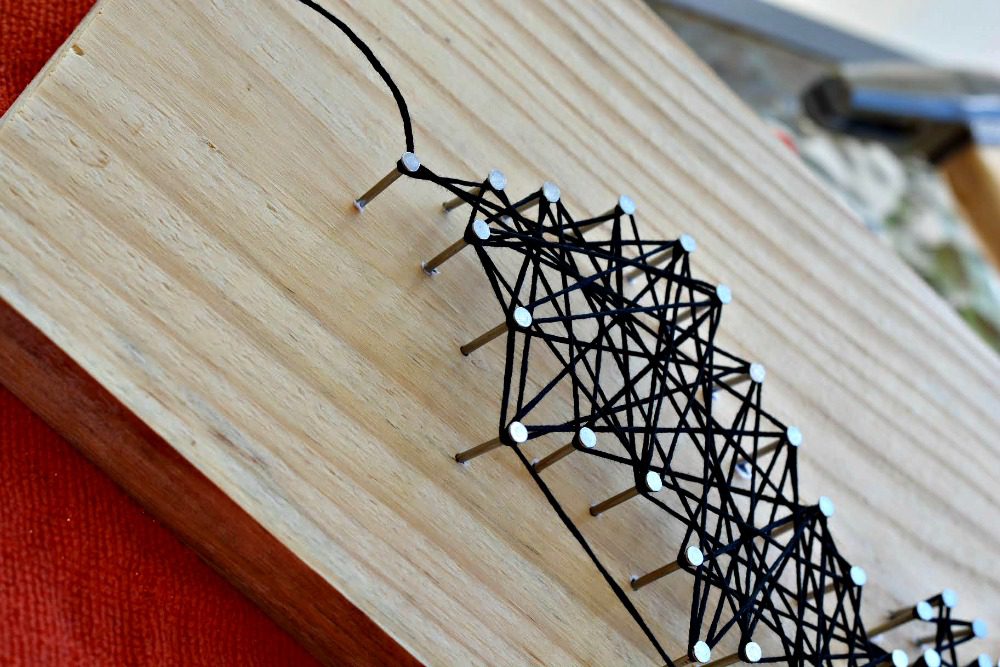
- Once you have returned to the starting nail, you'll begin your outline. Wrap your floss around one nail head and carry it to the next. Continue that process (wrap and carry) until you've outlined the bat. When you return where you've started, outline inside the same nails by reversing direction – then wrap and carry to the next nail, etc.
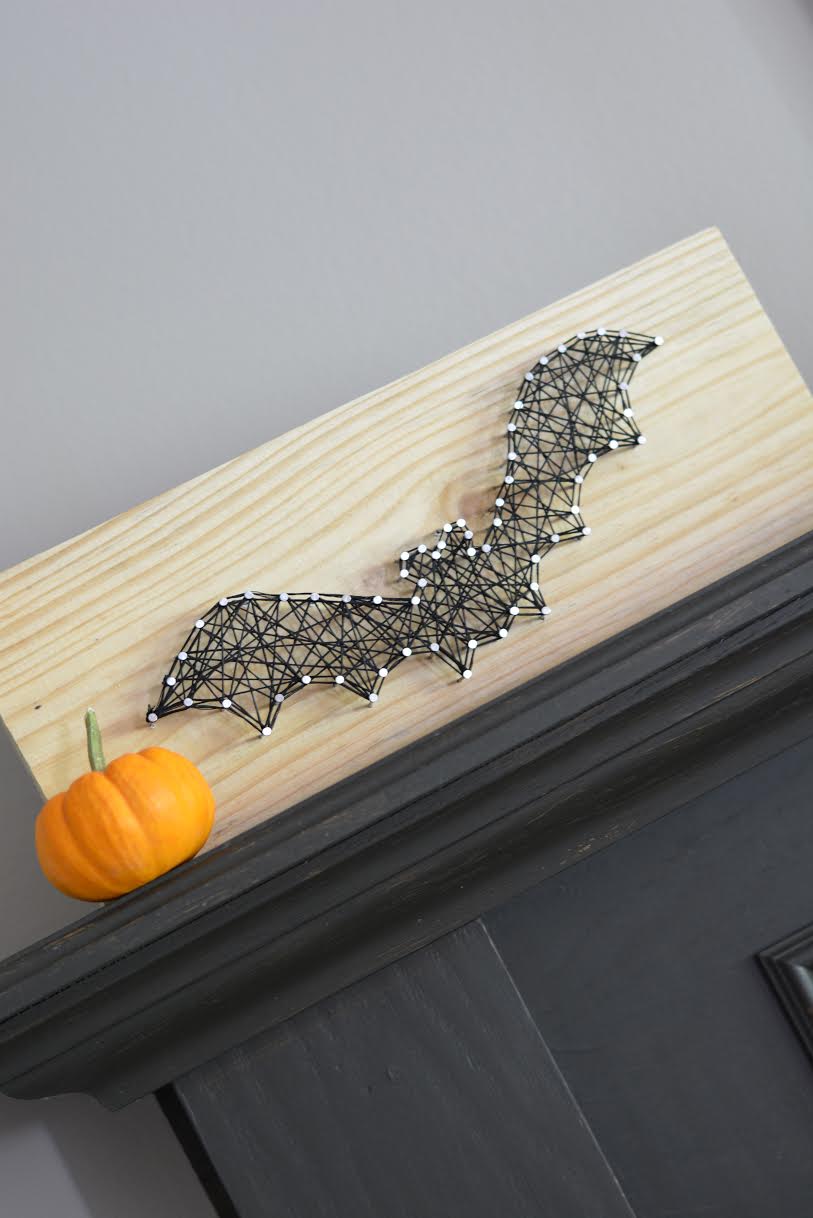
- When complete you'll end where you started. Simply tie your string together, double knot, trim and enjoy!
Notes
-
- You need to hold your string tight. One way to do this is to keep your grip close to the board.
- Your floss will probably knot and that will frustrate you. Just hang tight.
- Your floss will come off the nails and unravel or separate and one strand will be hanging out on it's own. Try to fix or unwind and re-do.
- About every fifth nail you'll want to wrap all the way around a nail head and pull tight to keep the string tight.
- I ended up running out of floss just before doing the second outline. You may or may not have that happen, it really depends on what your end bat looks like!
- If you plan to do a lot of these, make certain to get this brad nailer for string art because it makes things much faster.
You know how much we truly love Halloween in this house! Check out these 20 Halloween Door Decor Ideas or 25 DIY Halloween Garland Ideas for more Halloween inspiration! We hope that you are inspired by this DIY Halloween Bat String Art decor. Happy crafting!
You May Also Like


Pingback: 20 DIY Fabulous Fall String Art Ideas Halloween crafts
Pingback: Spider Rice Krispies Treats Recipe Halloween Class Party Fun
Pingback: Ultimate List of Halloween Printables Divine Lifestyle
Pingback: 10 Halloween Printables Halloween Decor Divine Lifestyle
Pingback: 20 Candy Corn Sweet Treats and Crafts Halloween
Pingback: 15 DIY Fall Decor Ideas Autumn Craft Divine Lifestyle
Pingback: DIY No Sew Halloween BOO Fabric Tie Wreath Divine Lifestyle
Pingback: FREE You've Been Booed Halloween Printable Divine Lifestyle
Pingback: DIY Halloween Witches Brew Ingredients Bottles Divine Lifestyle
Pingback: Make Your Next Halloween Unforgettable
Pingback: Halloween Theme Party Ideas
Pingback: Easy Halloween DIY: EEK Wood Blocks Divine Lifestyle